How to Make an Adobe Portfolio
1. Open the Adobe Creative Cloud Desktop.
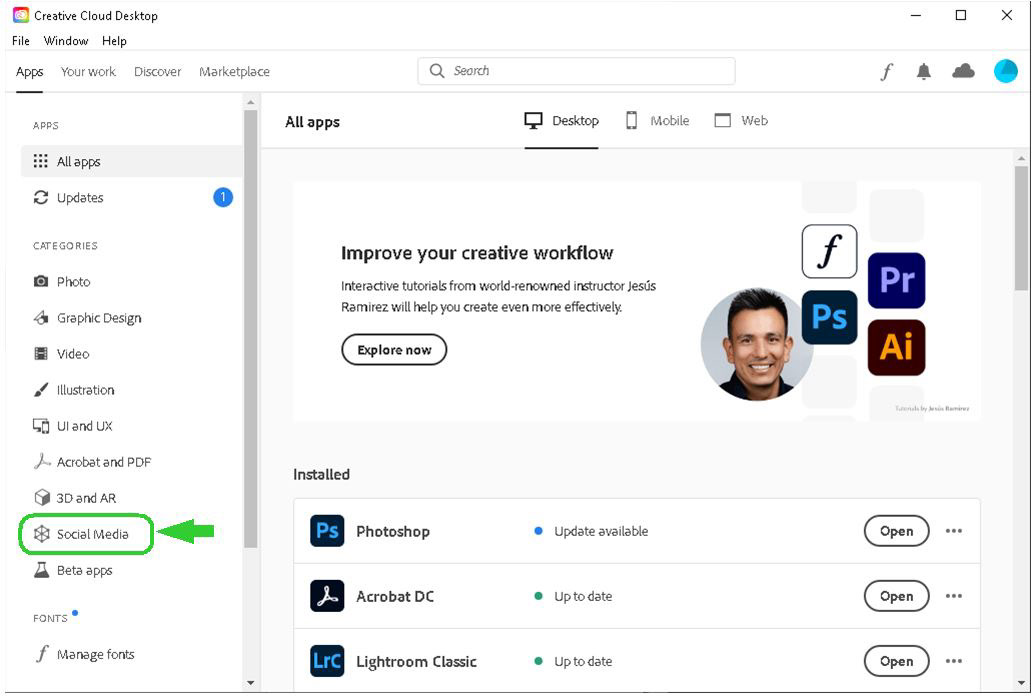
2. Click onto "Social Media" on the left side.
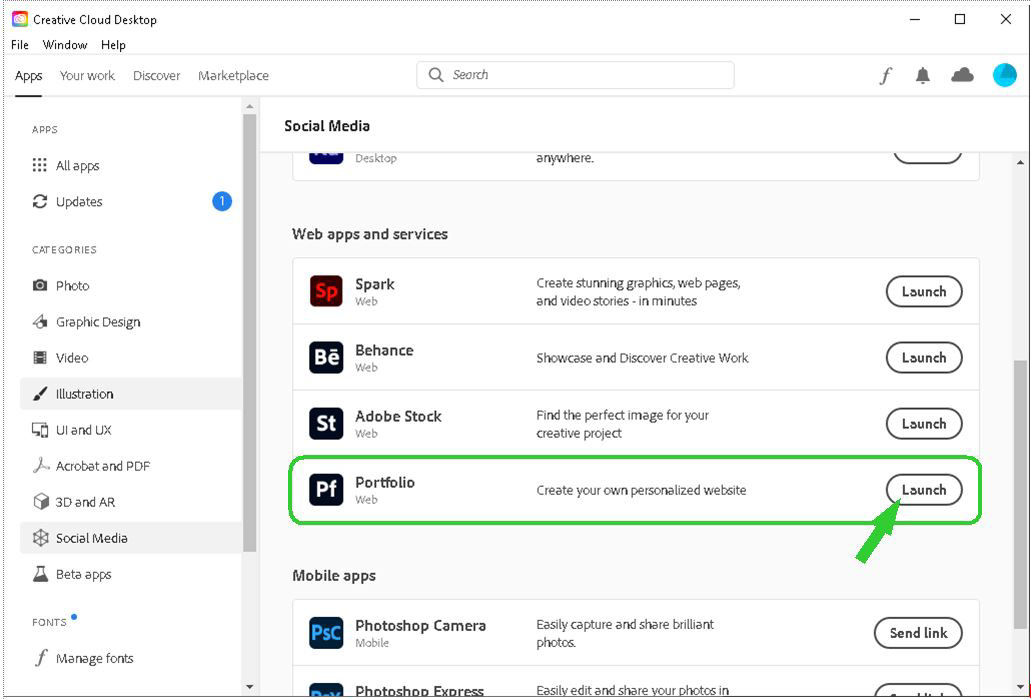
3. Launch the "Portfolio".
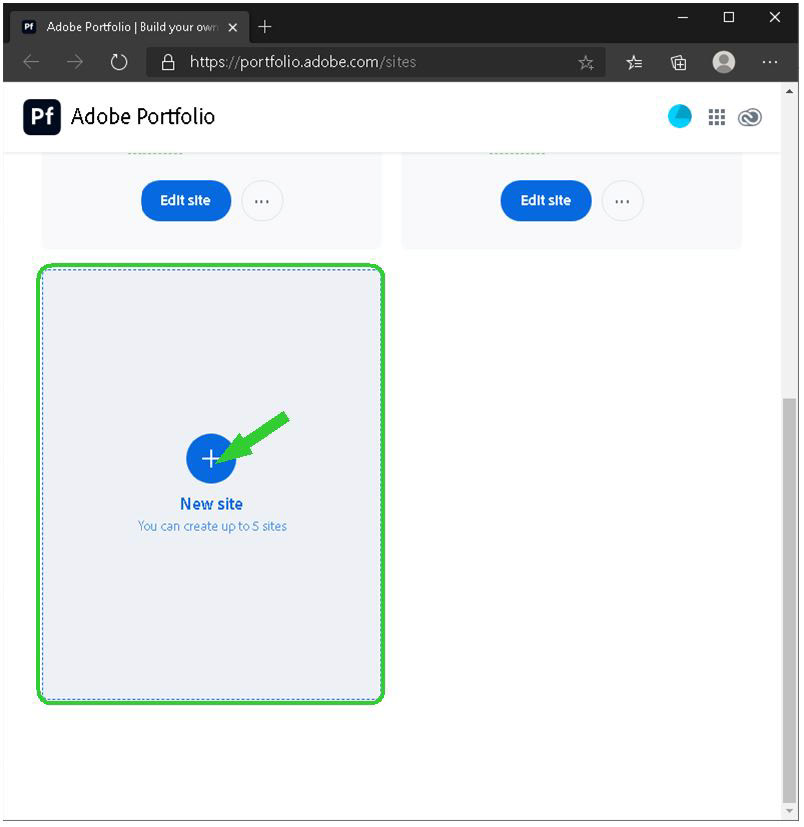
4. Click onto "New site".
5. Many types of templates will be shown. Choose any template freely.
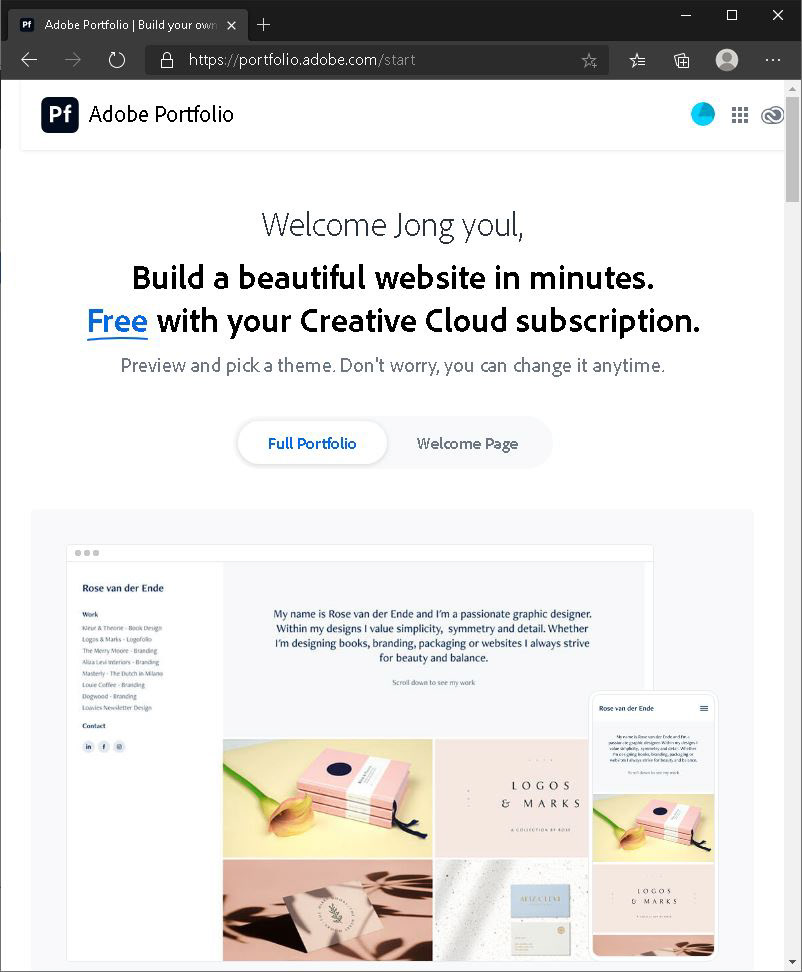
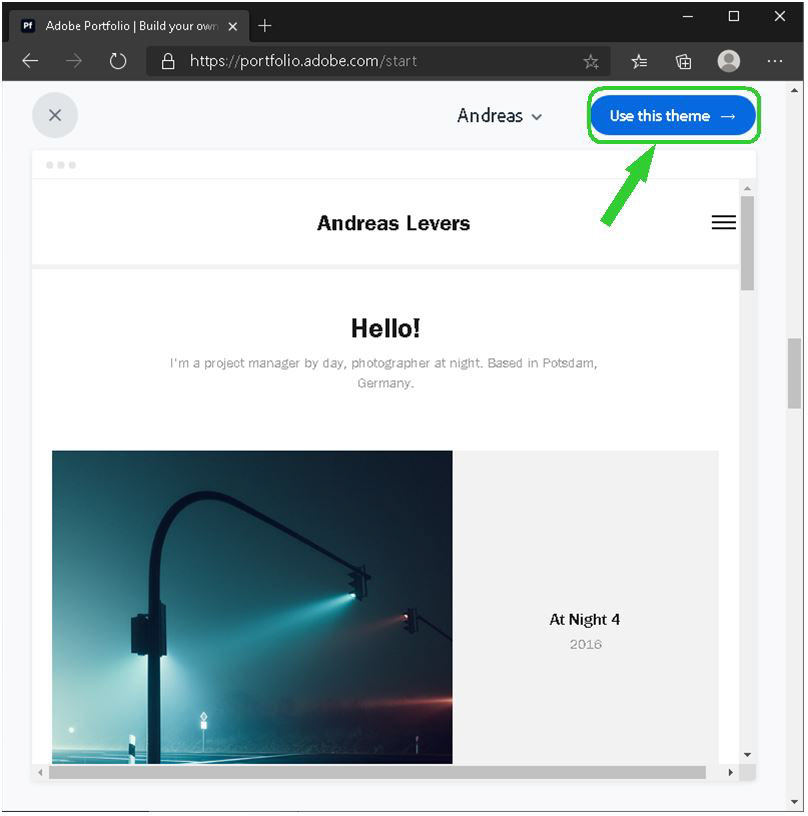
6. For a reference, Andreas will be used as the template.

7. Click "Use this theme".
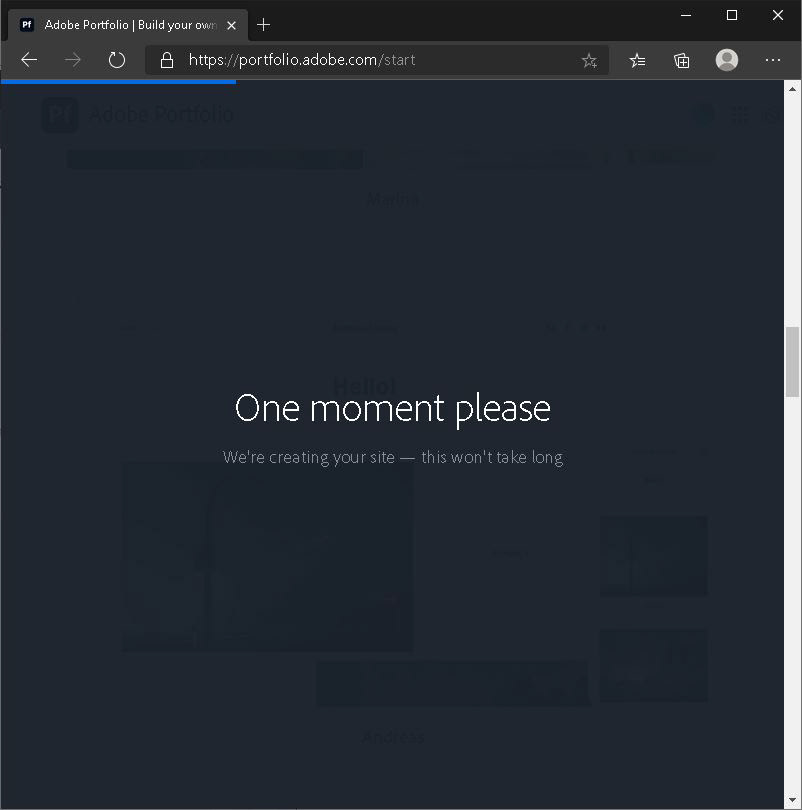
8. It will prepare your website.
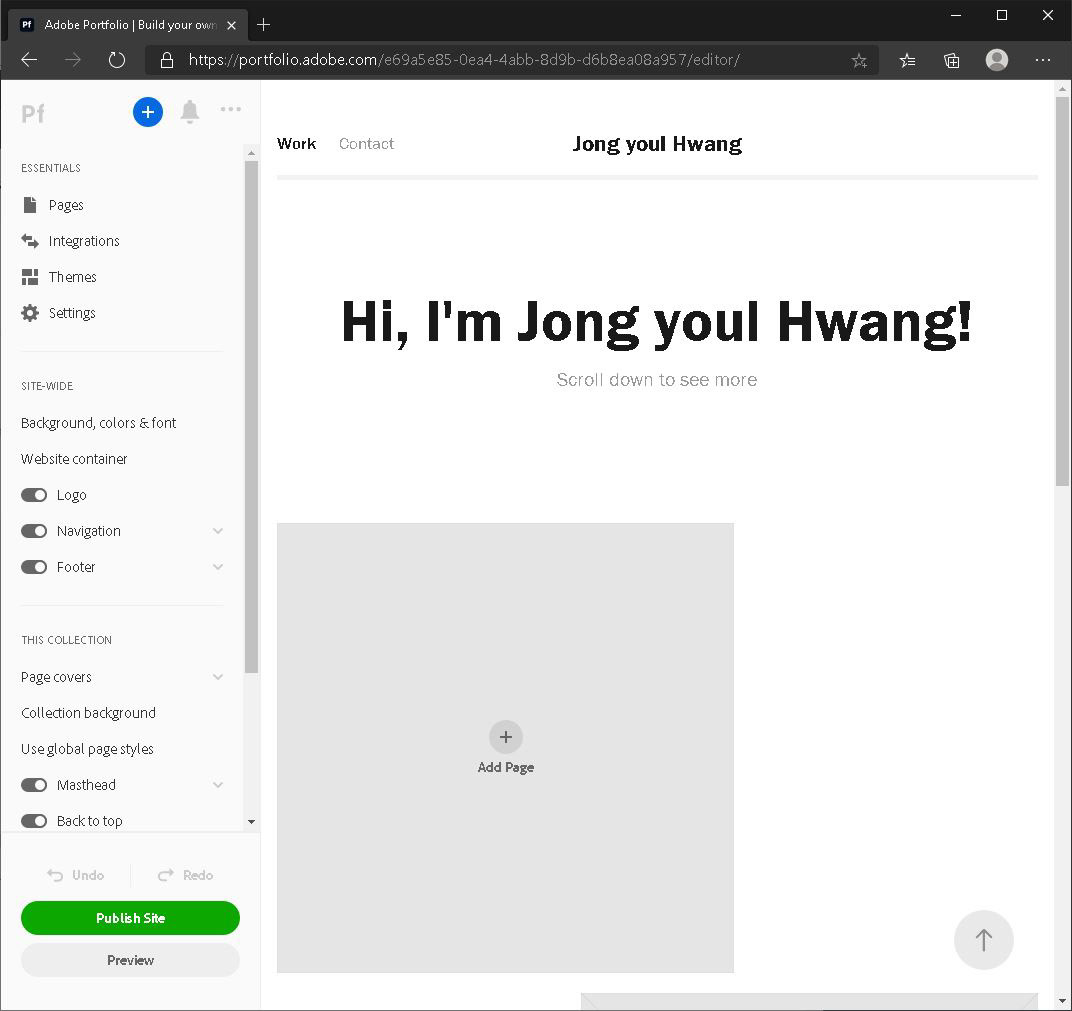
9. The website is now ready to edit.
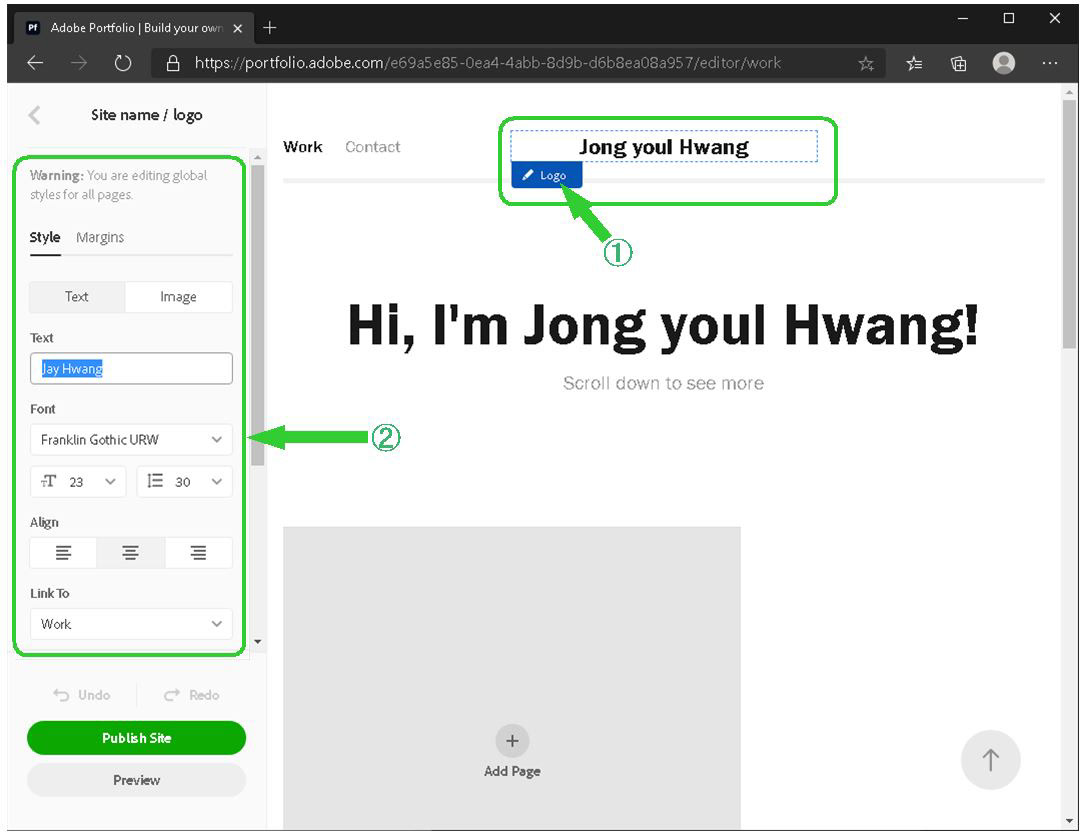
10. Edit the logo.
(1) Hover your mouse over the top of the Logo area to see the Logo button.
Click the Logo button.
(2) On the left side, you can input Logo name (ex. your name) and change style.
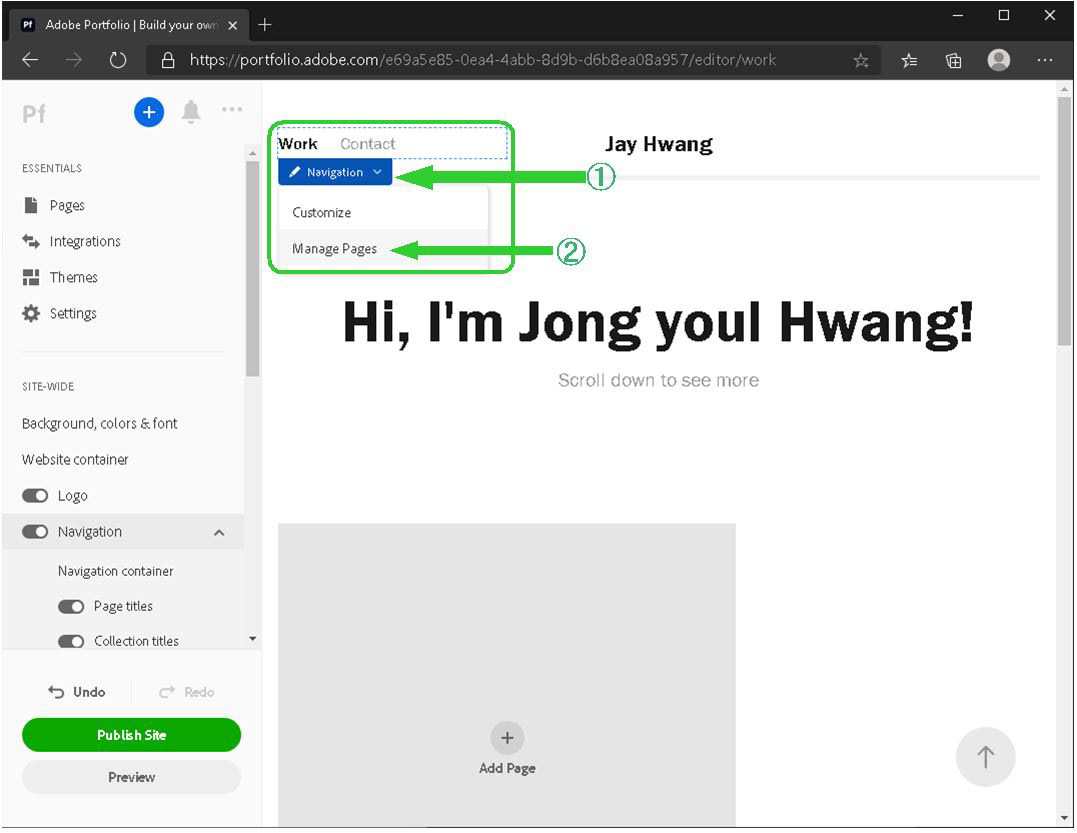
11. Edit the navigation menu. (Hover over this area to see the button as well)
(1) Click navigation button.
(2) Click Manage Pages.
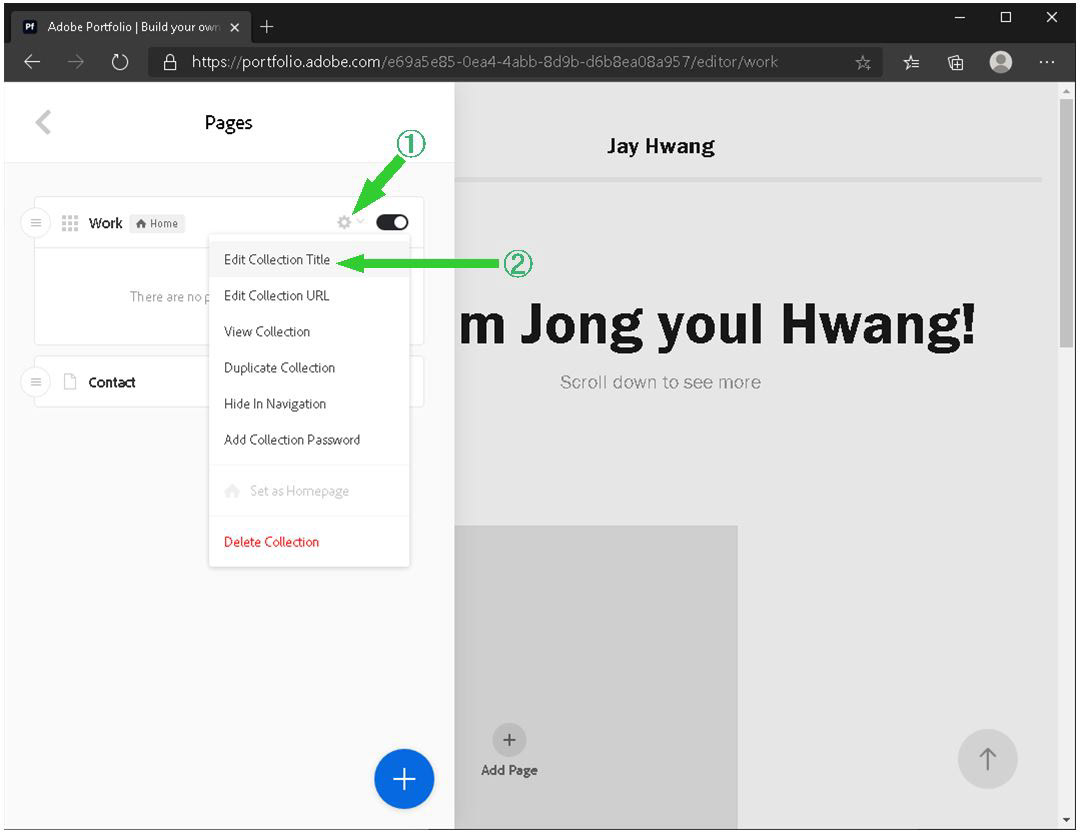
12. (1) Click the gear icon.
(2) Click Edit Collection Title.
13. Input the navigation input name.
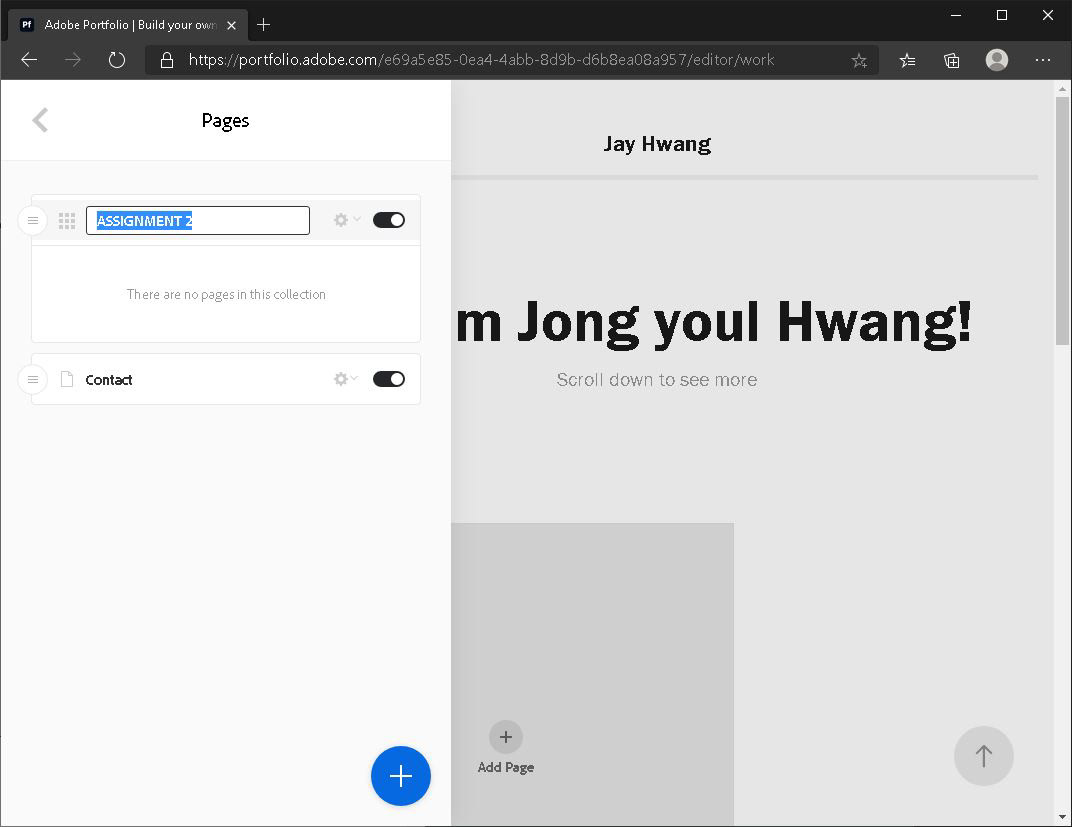
14. Press Enter on the keyboard to save.

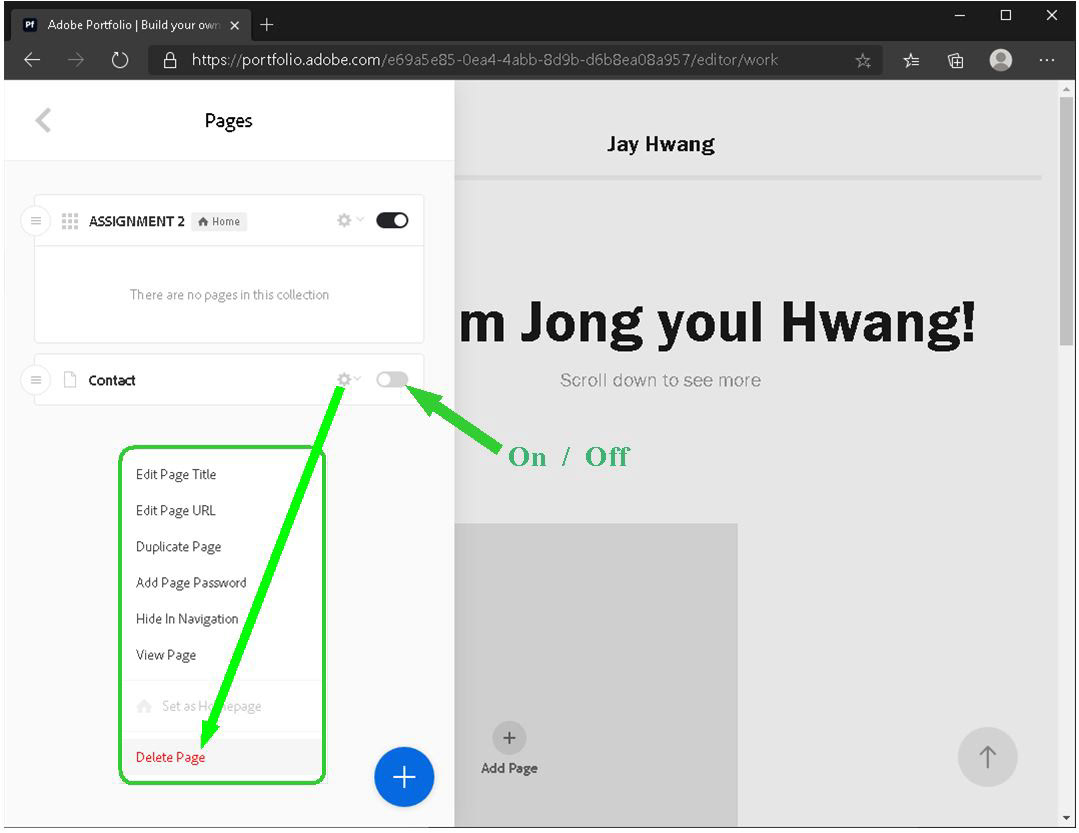
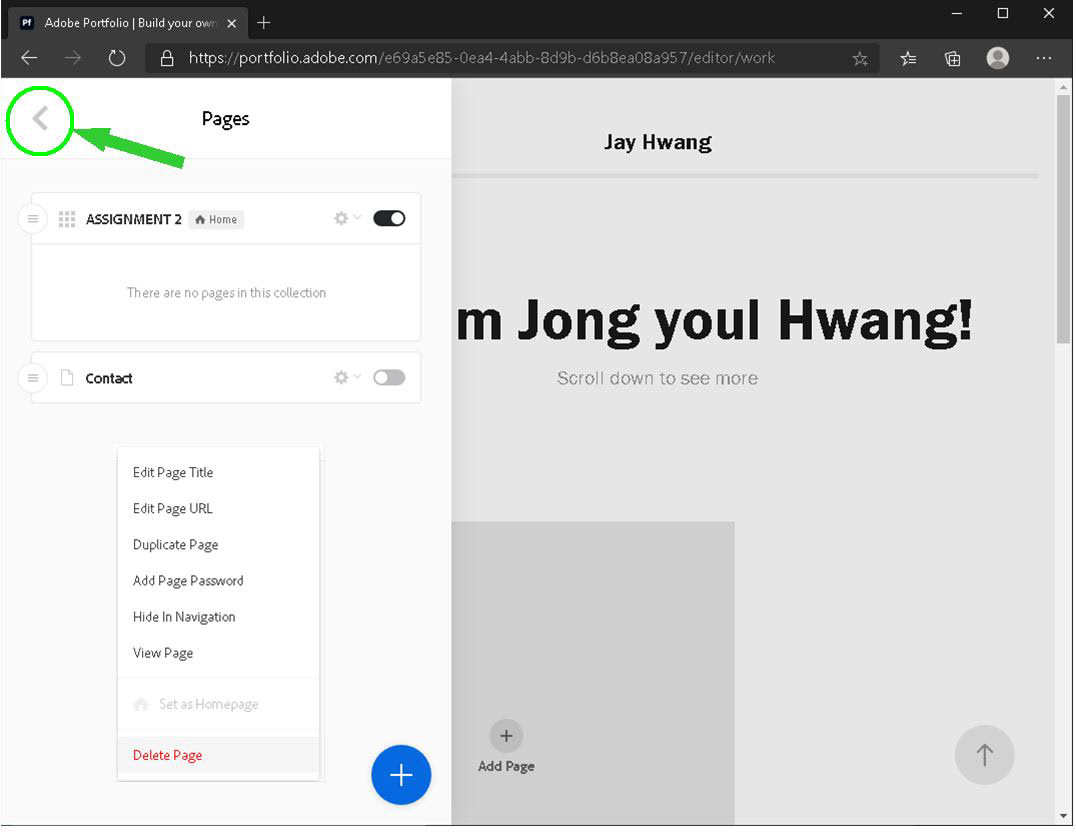
15. You can turn on or off the page or even delete the page.
For this assignment, the Contact page is unnecessary to you may delete it.
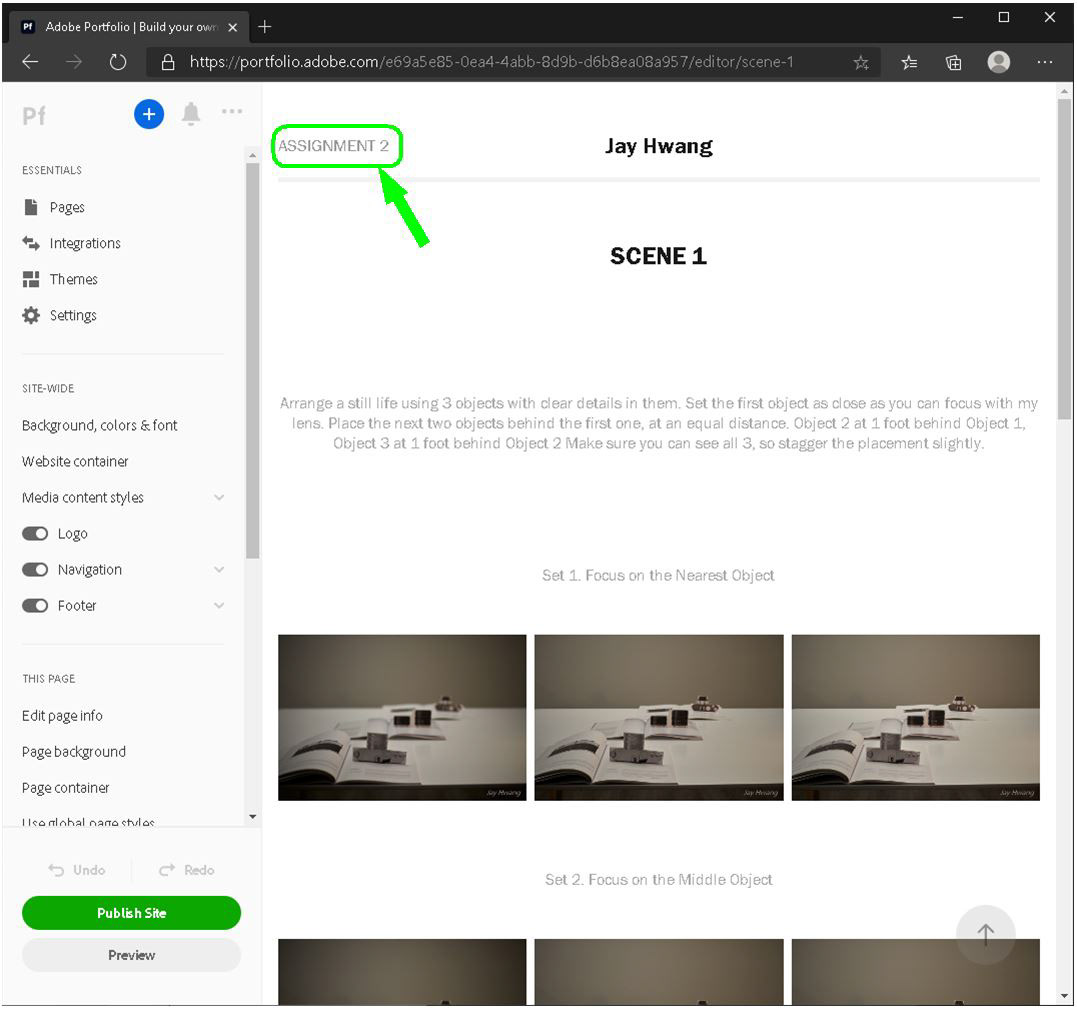
16. Click go back to go to the main page.
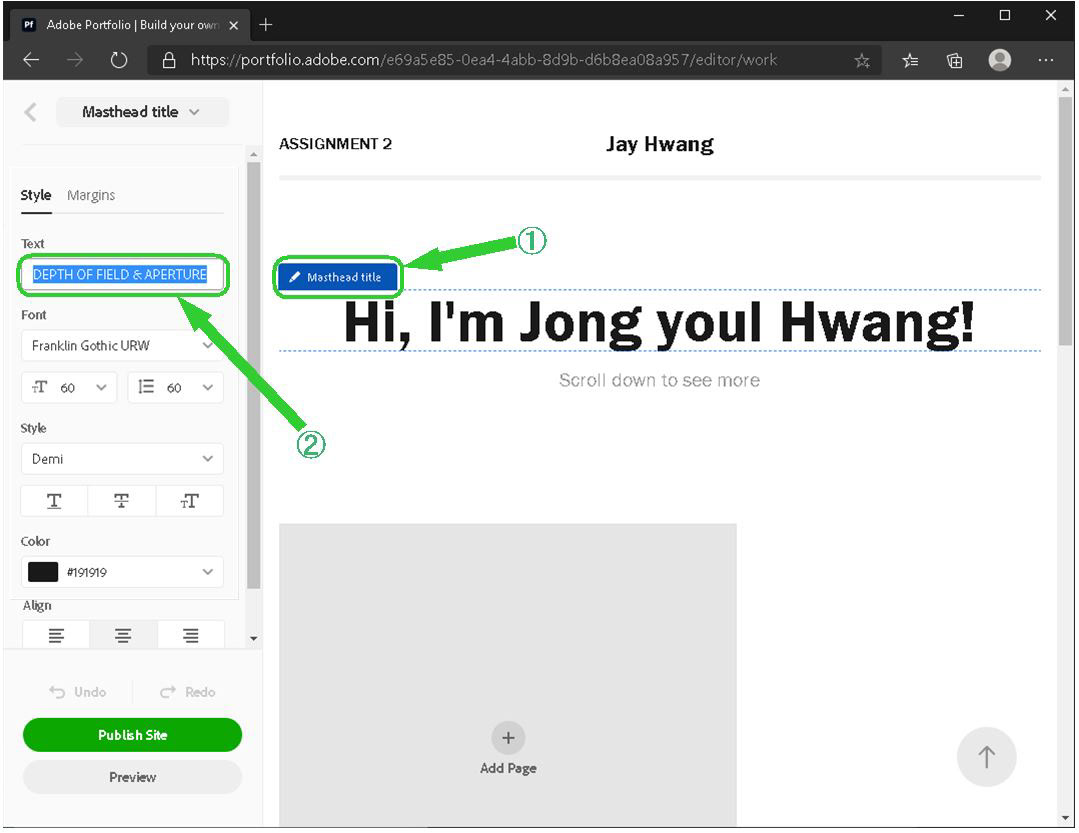
17. You can change the title.
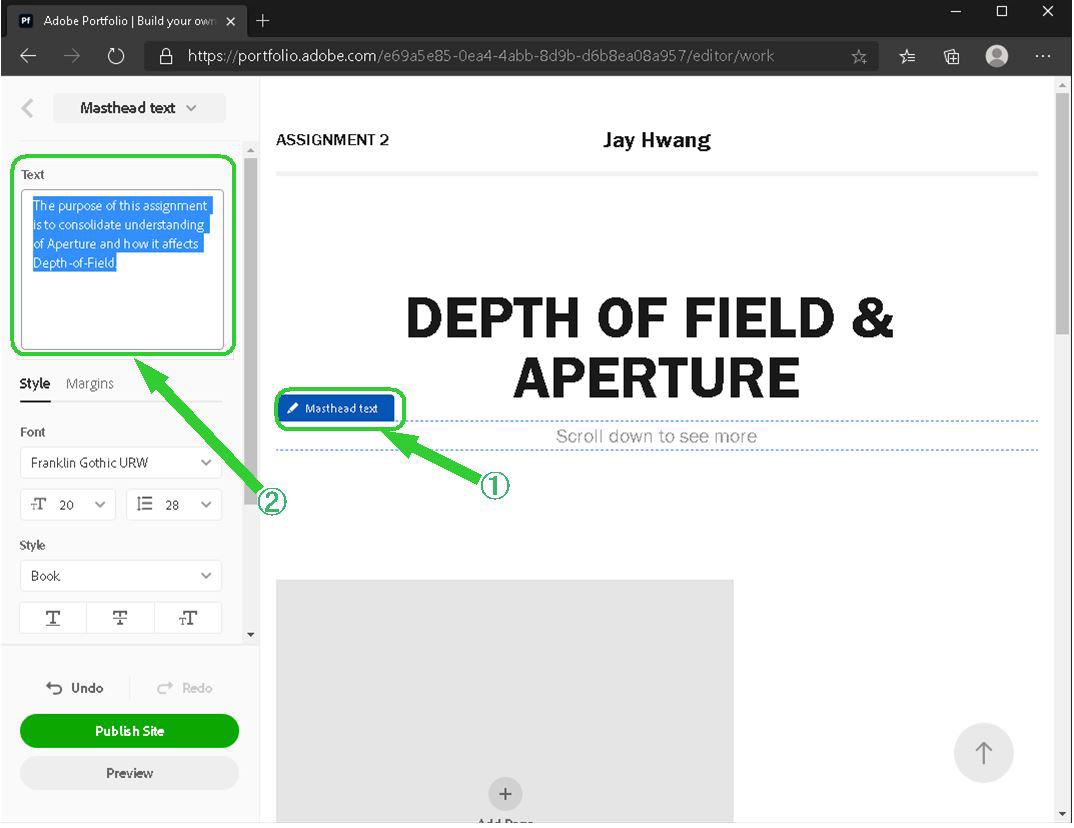
18. Under the title, you can insert a description.
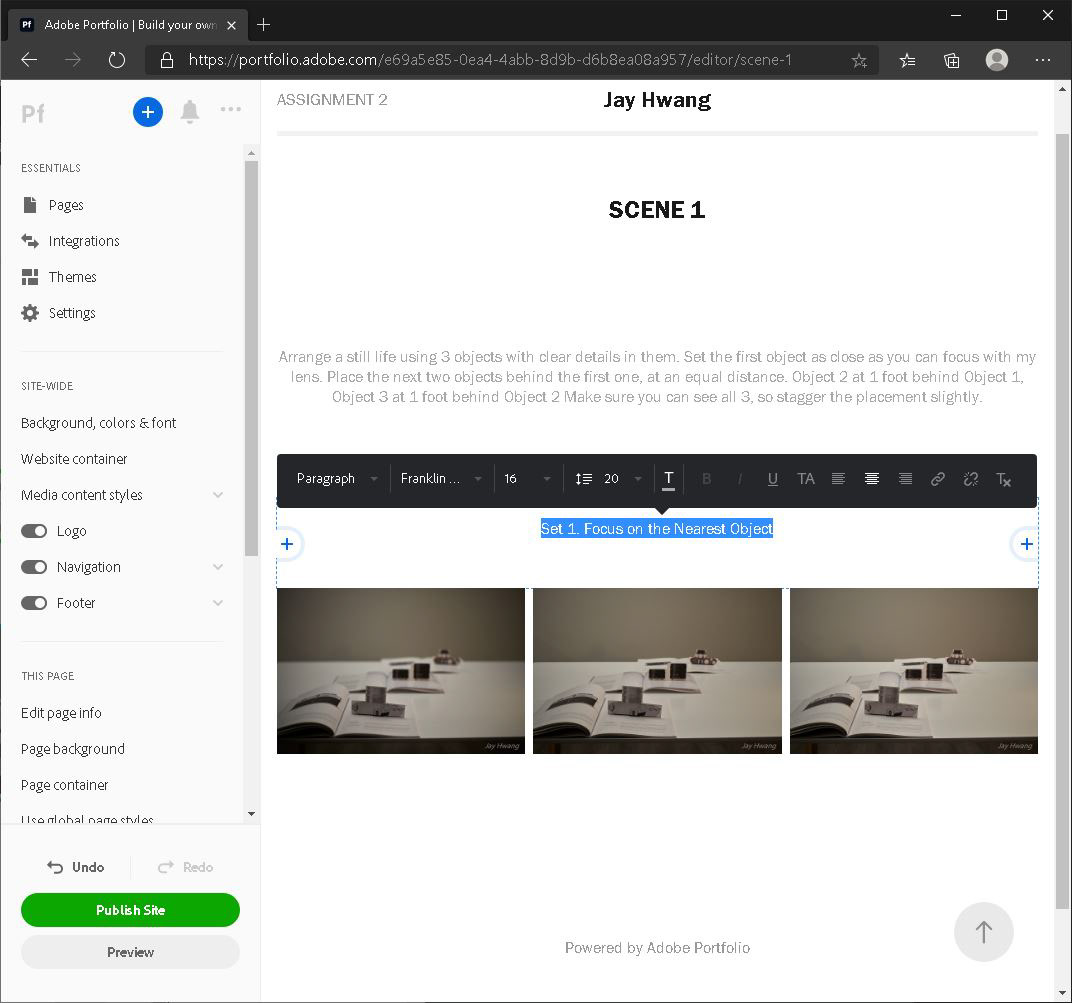
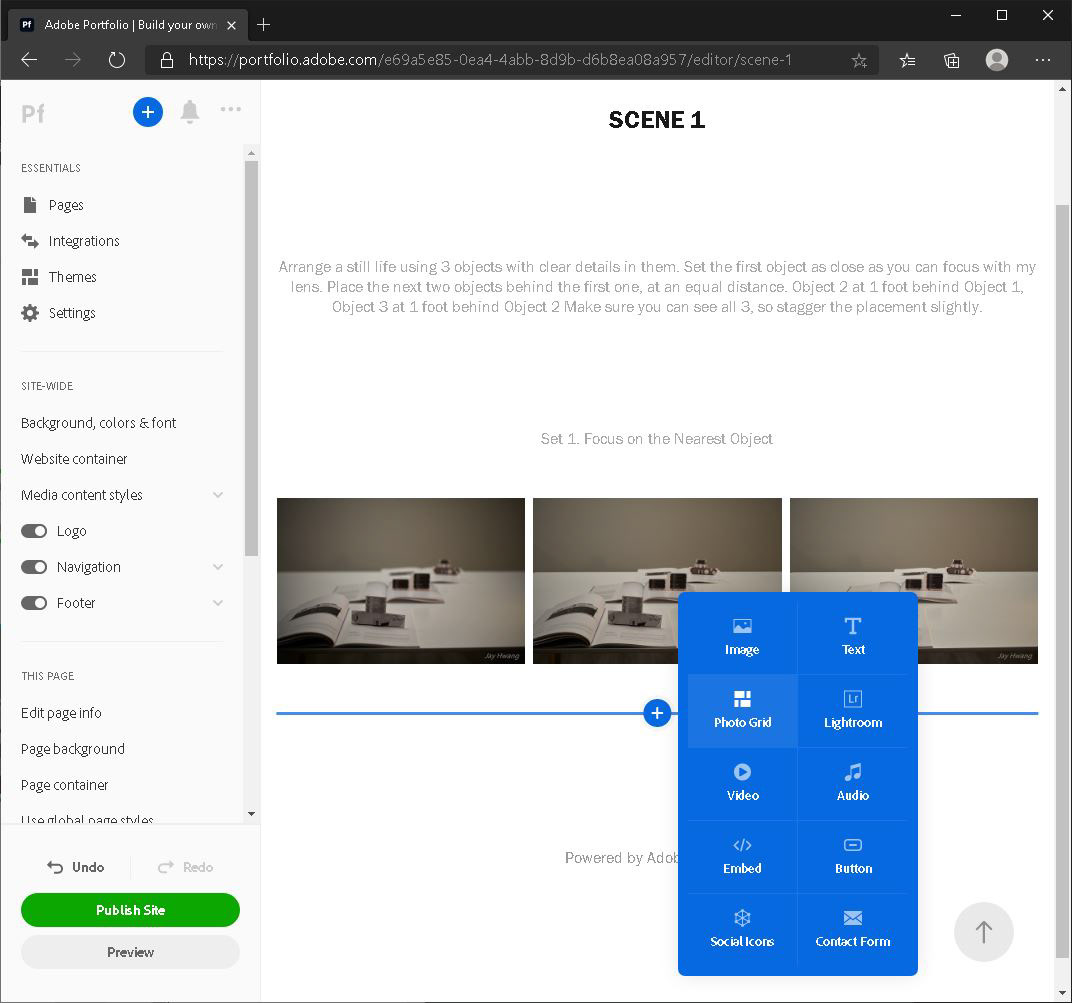
19. Click the plus sign (Add Page) and then click Page in the pop-up menu to insert photos.
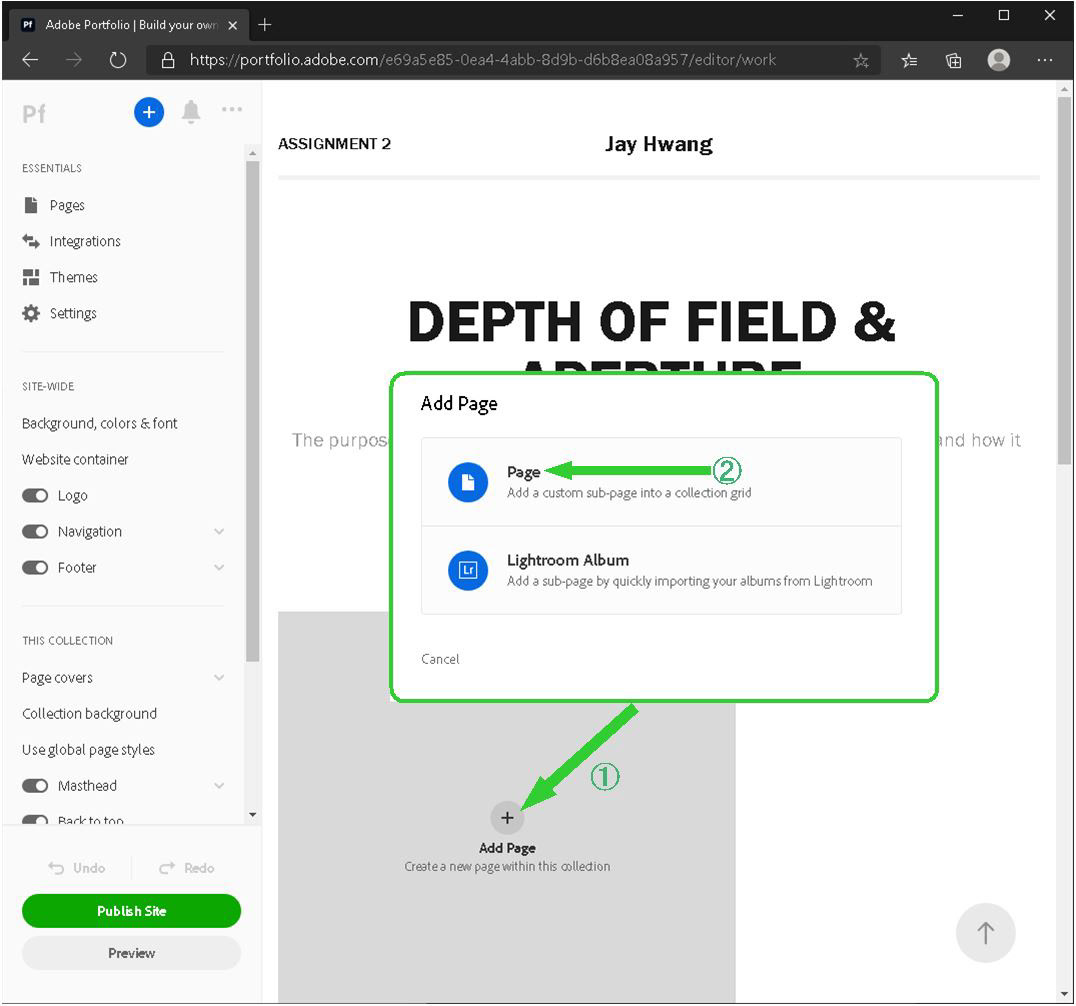
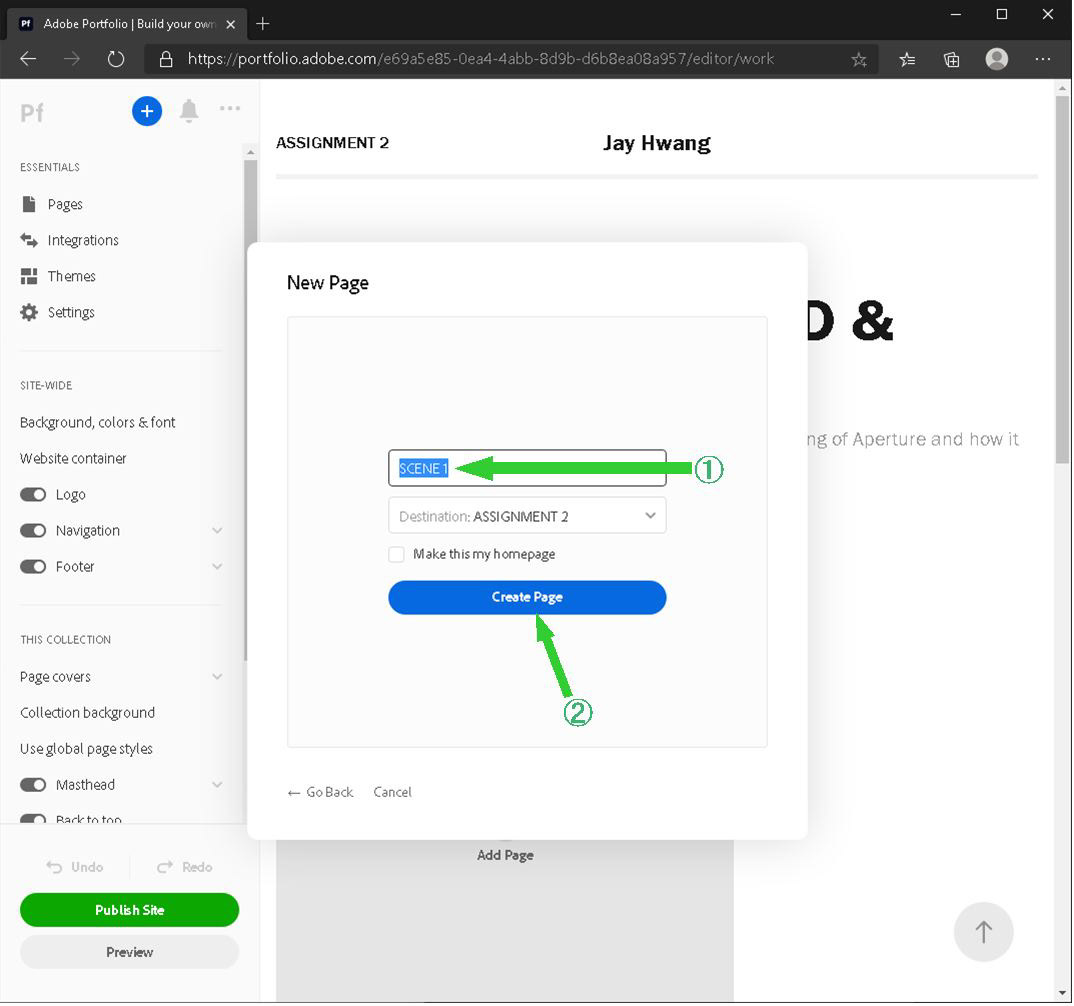
20. Input the page name.
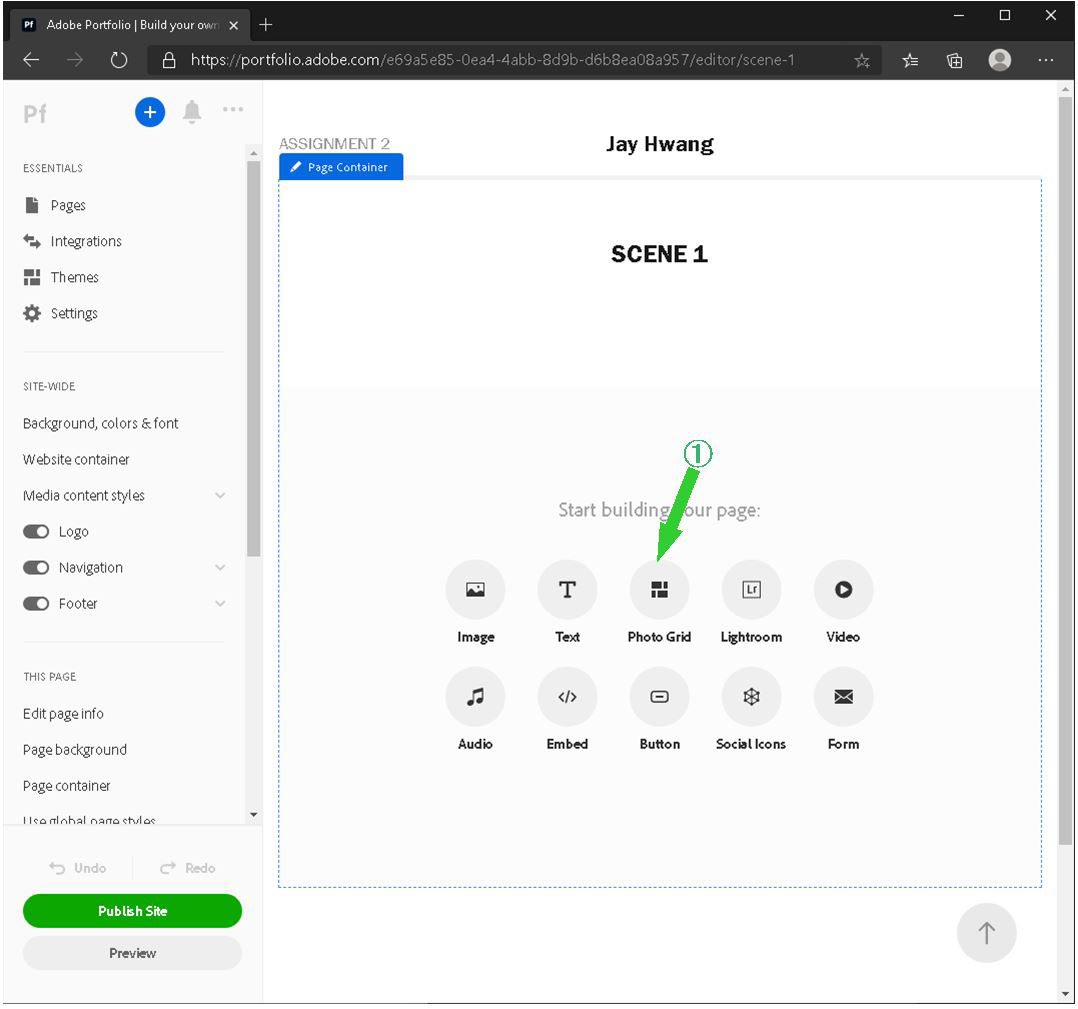
21. Click the Photo Grid.
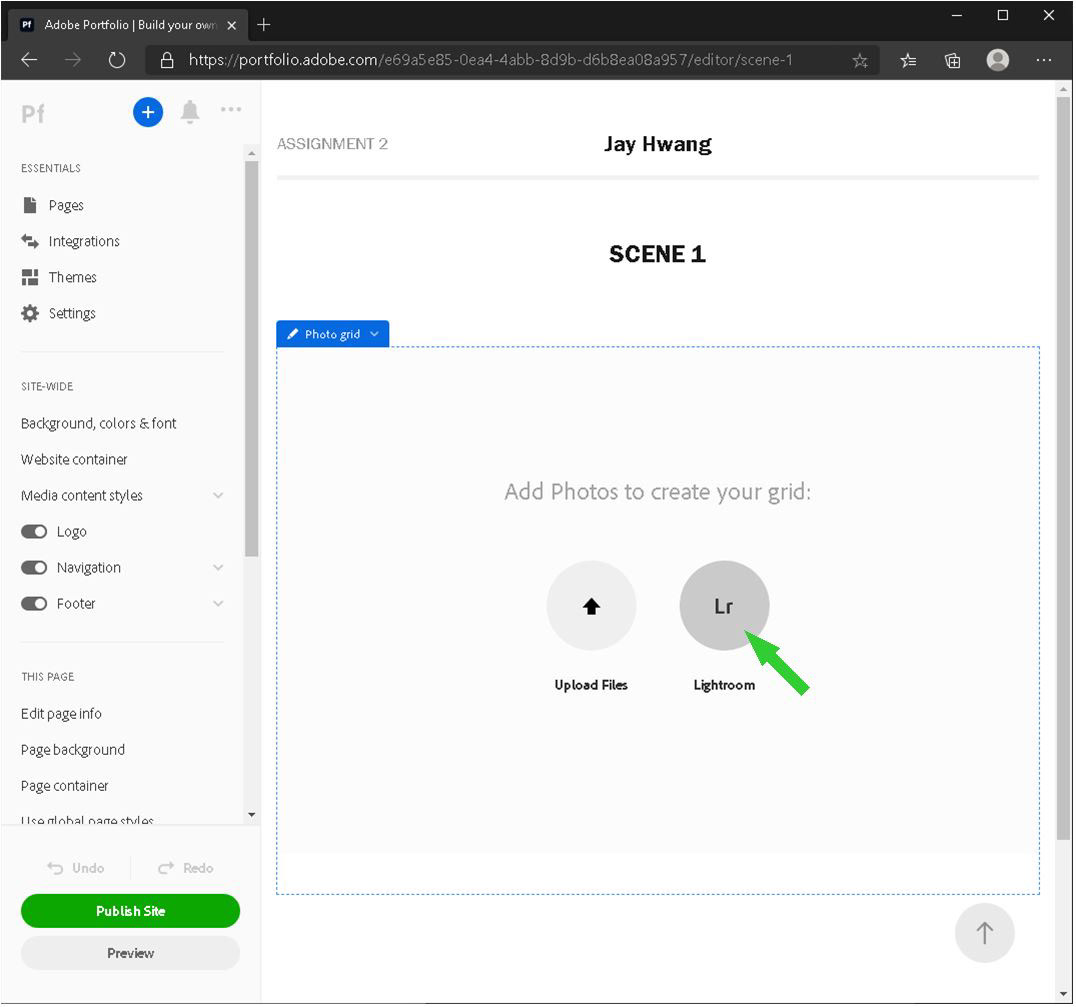
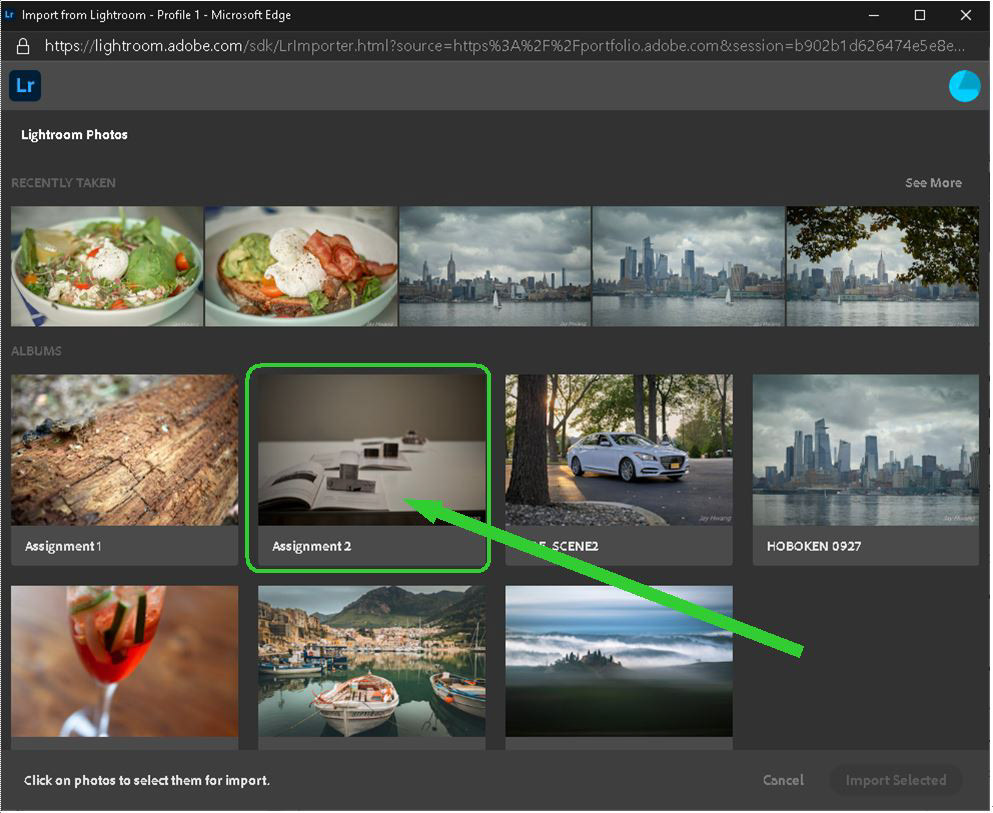
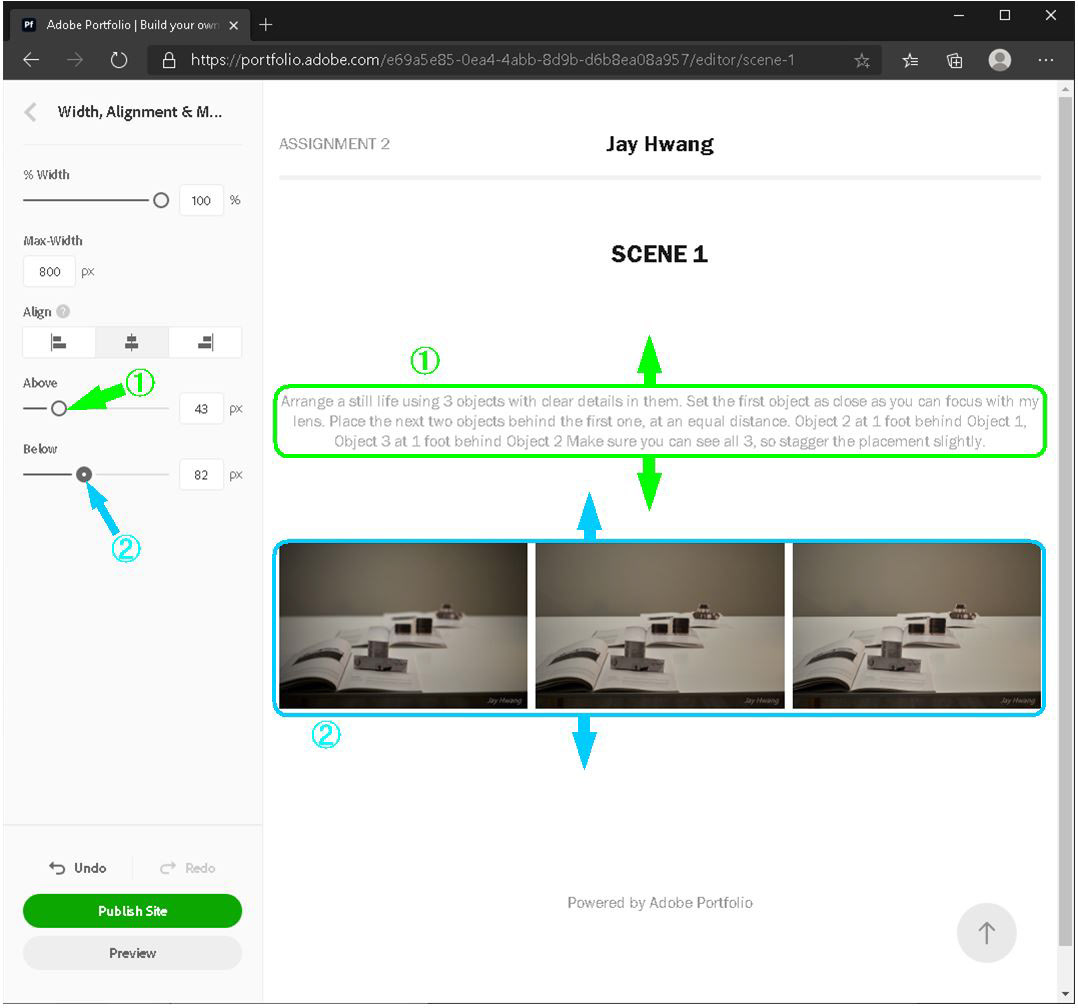
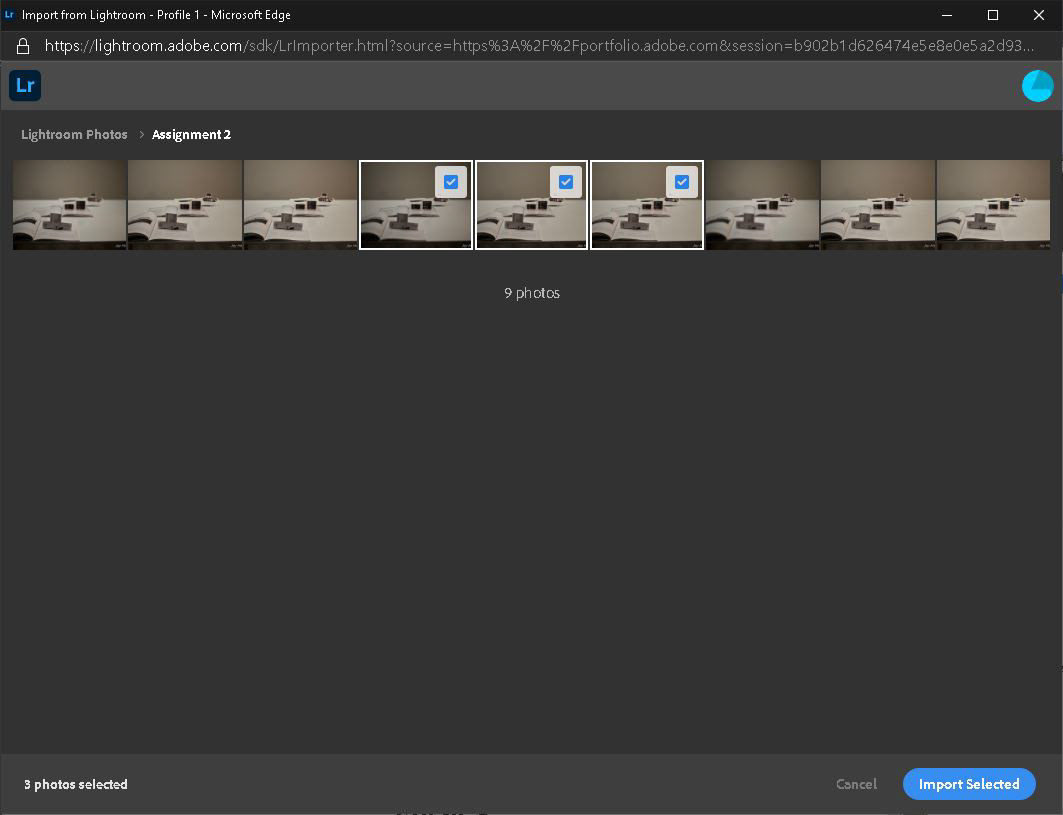
22. Click the Lightroom.
You can bring photos from Lightroom albums.
23. Choose the album you want.
24. Select photos inside the album to bring. Then, click Import Selected.
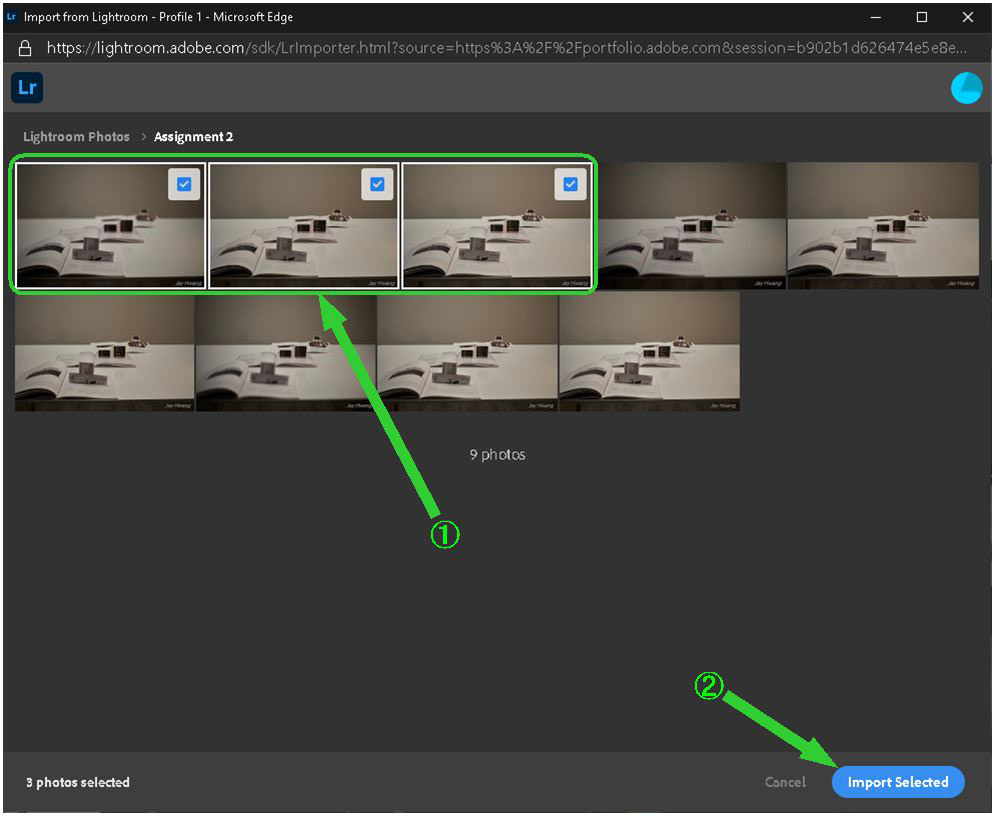
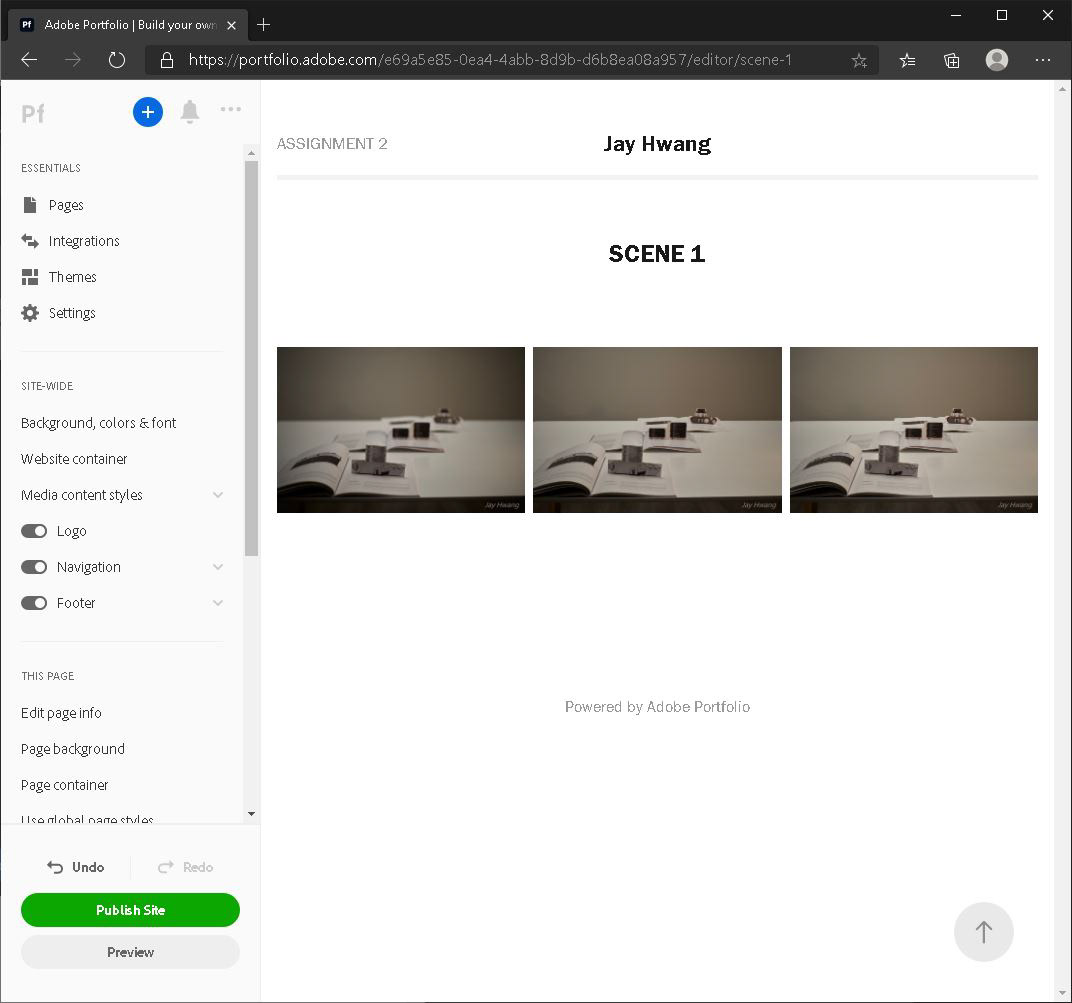
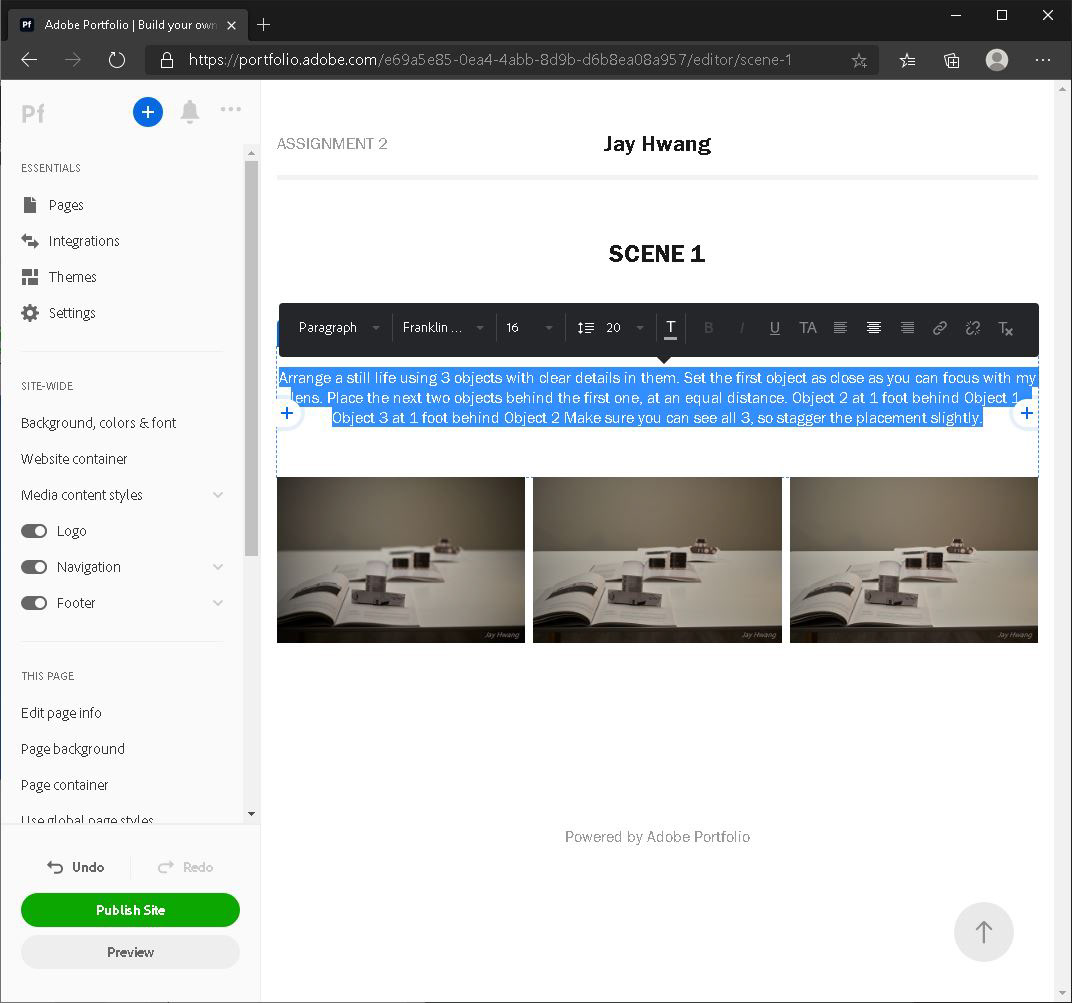
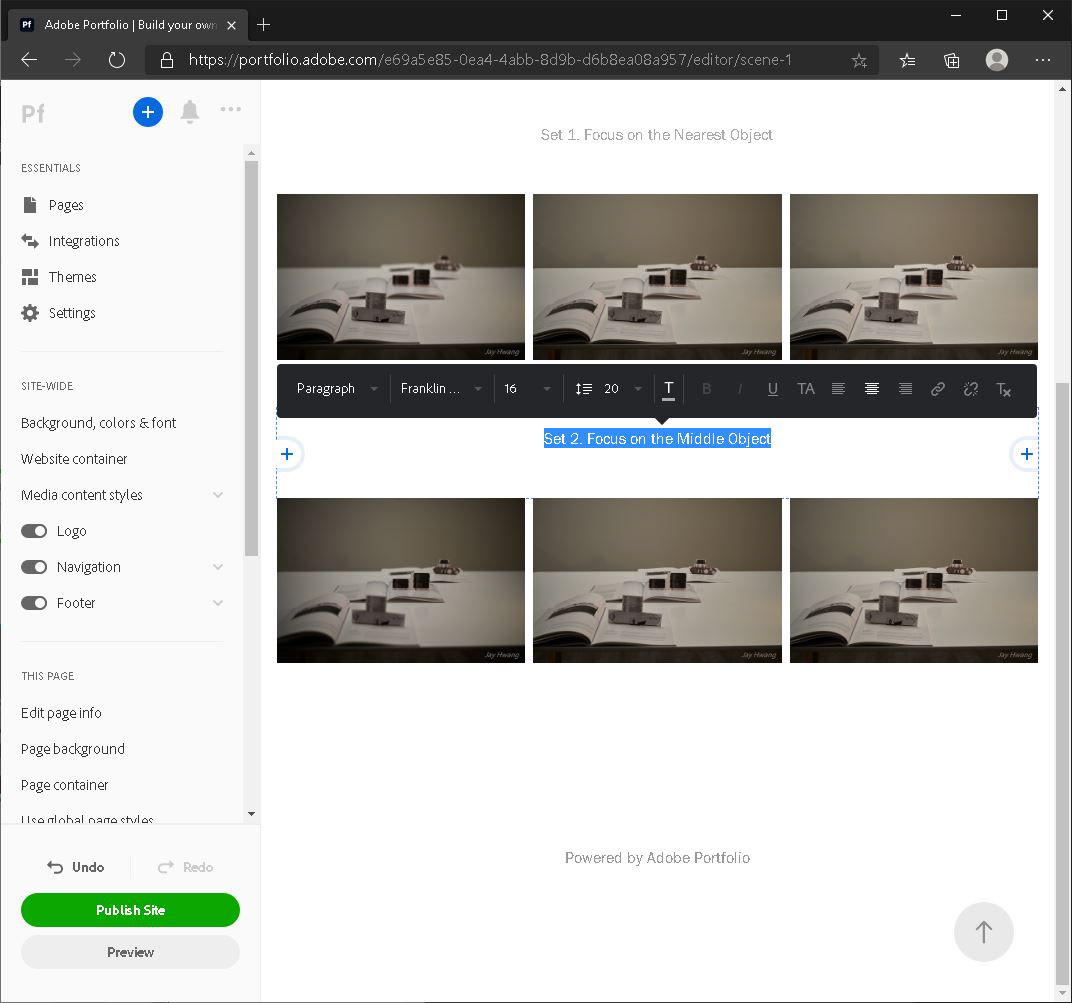
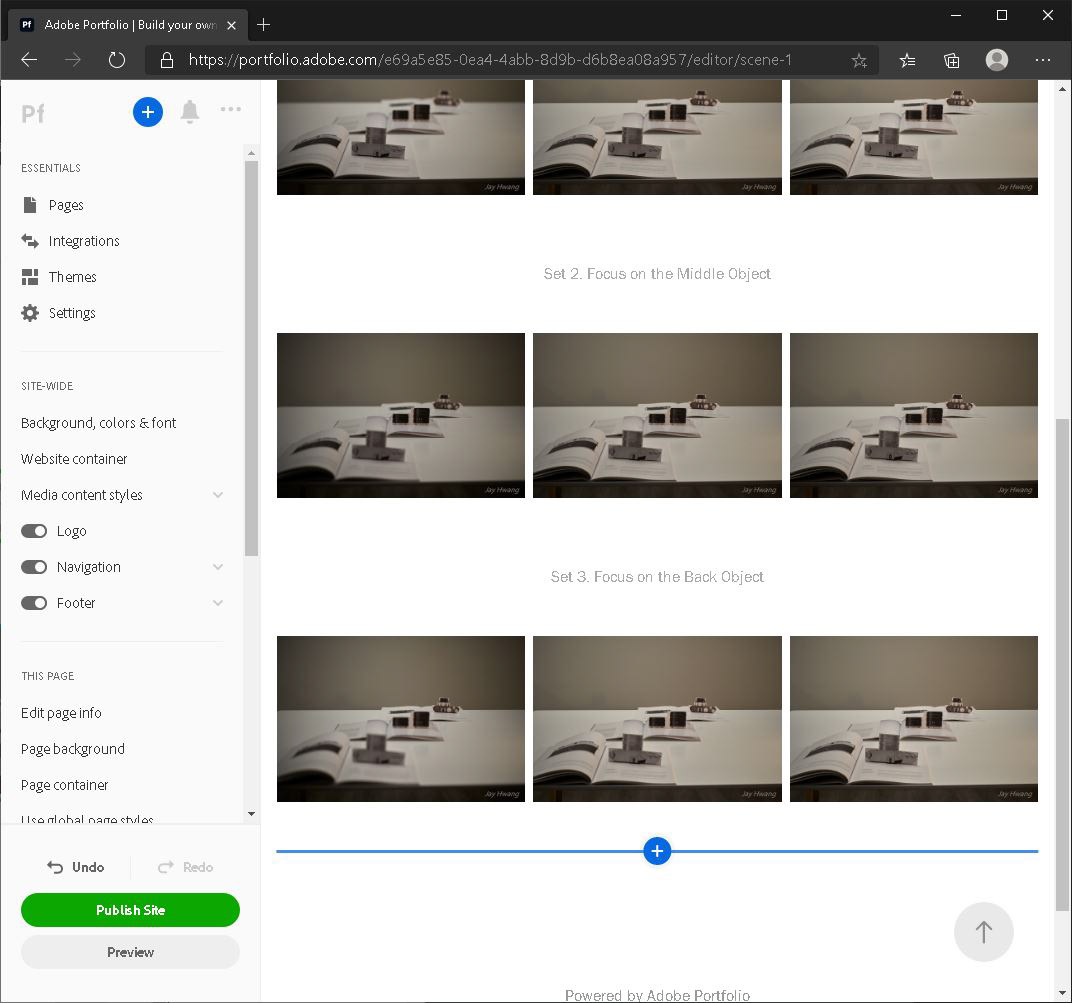
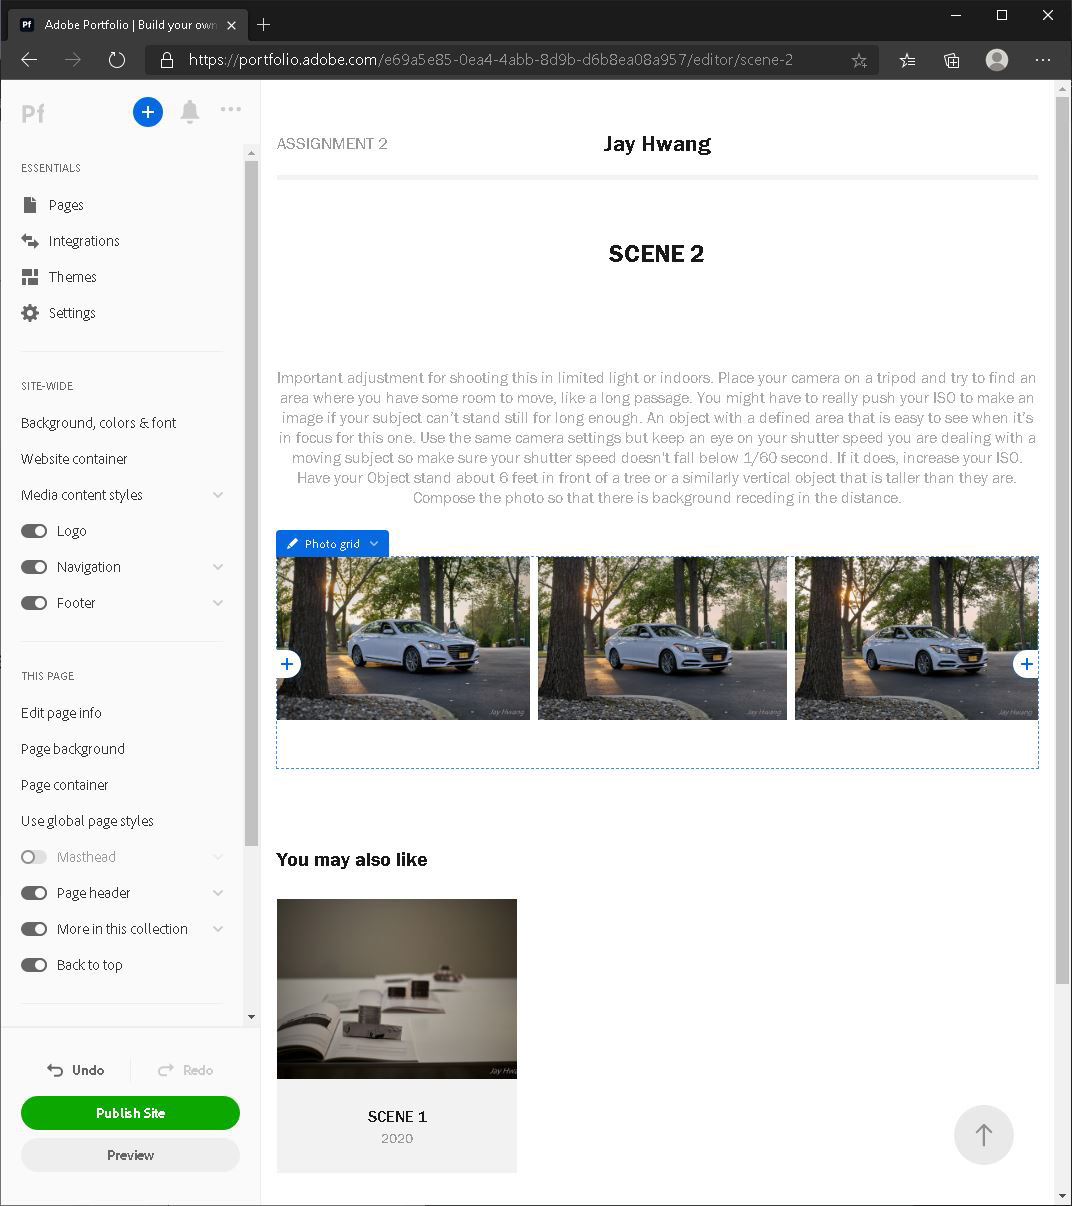
25. Three photos you chose will be displayed.
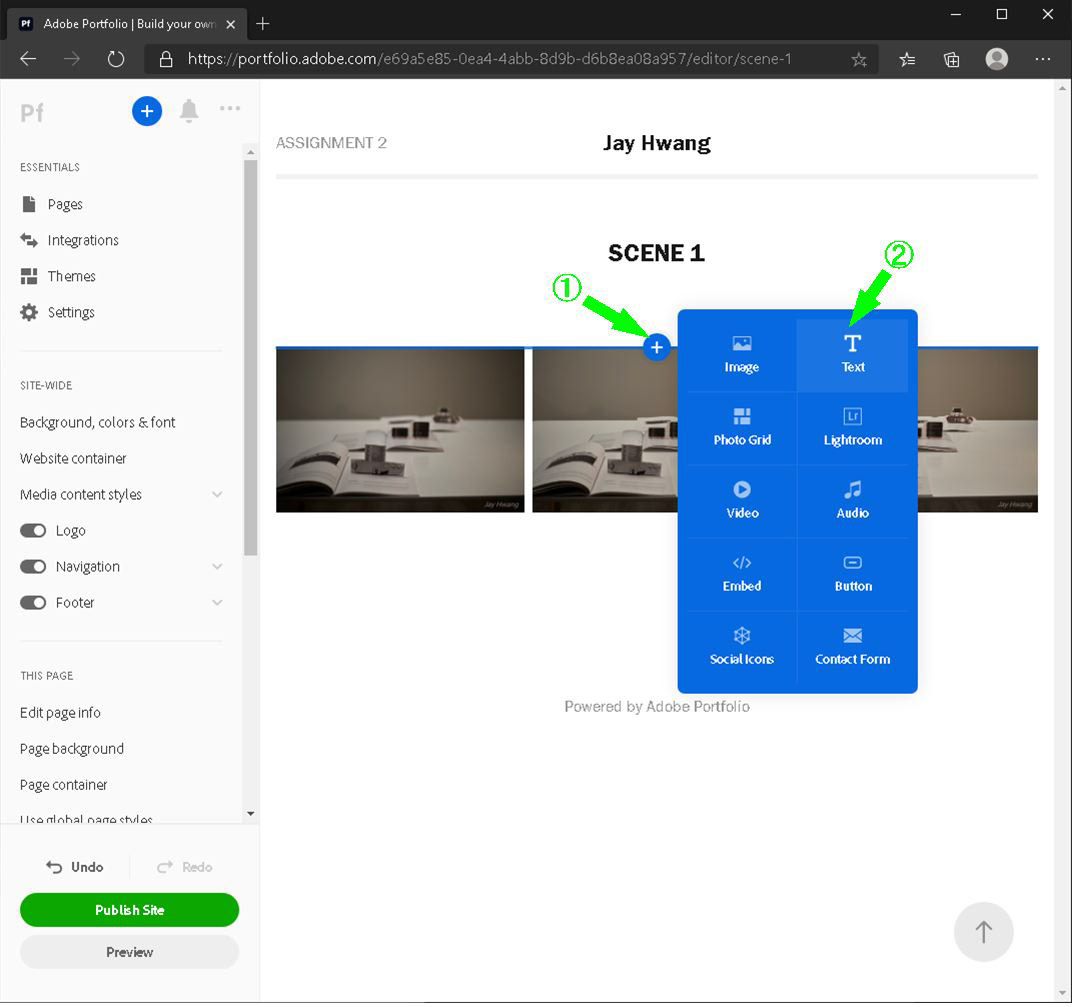
26. Add a text on top of the photos, such as subtitles.
27. You can edit the text freely to different fonts and sizes.
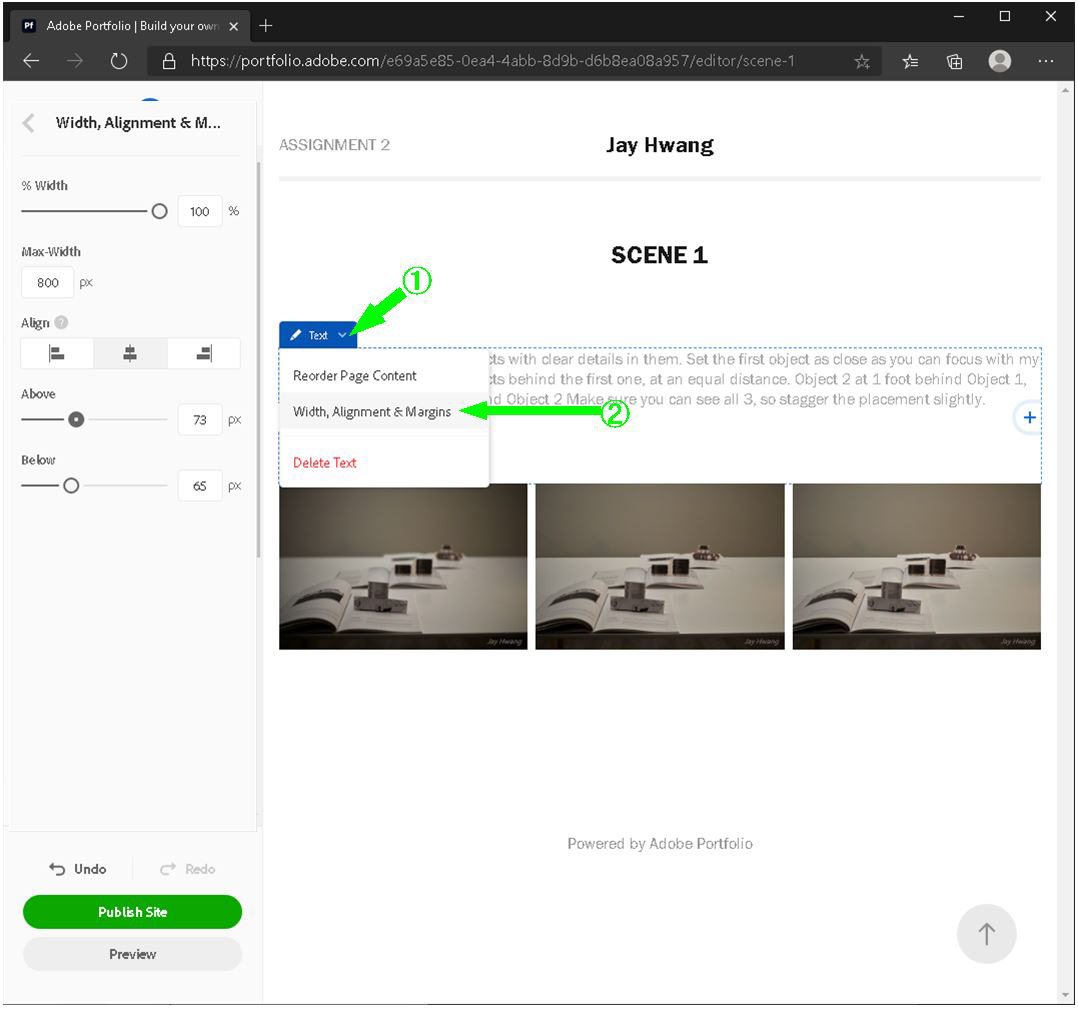
28. Click Text menu. Click Width, Alignment & Margins.
29. You can also arrange the location of the text and photos.
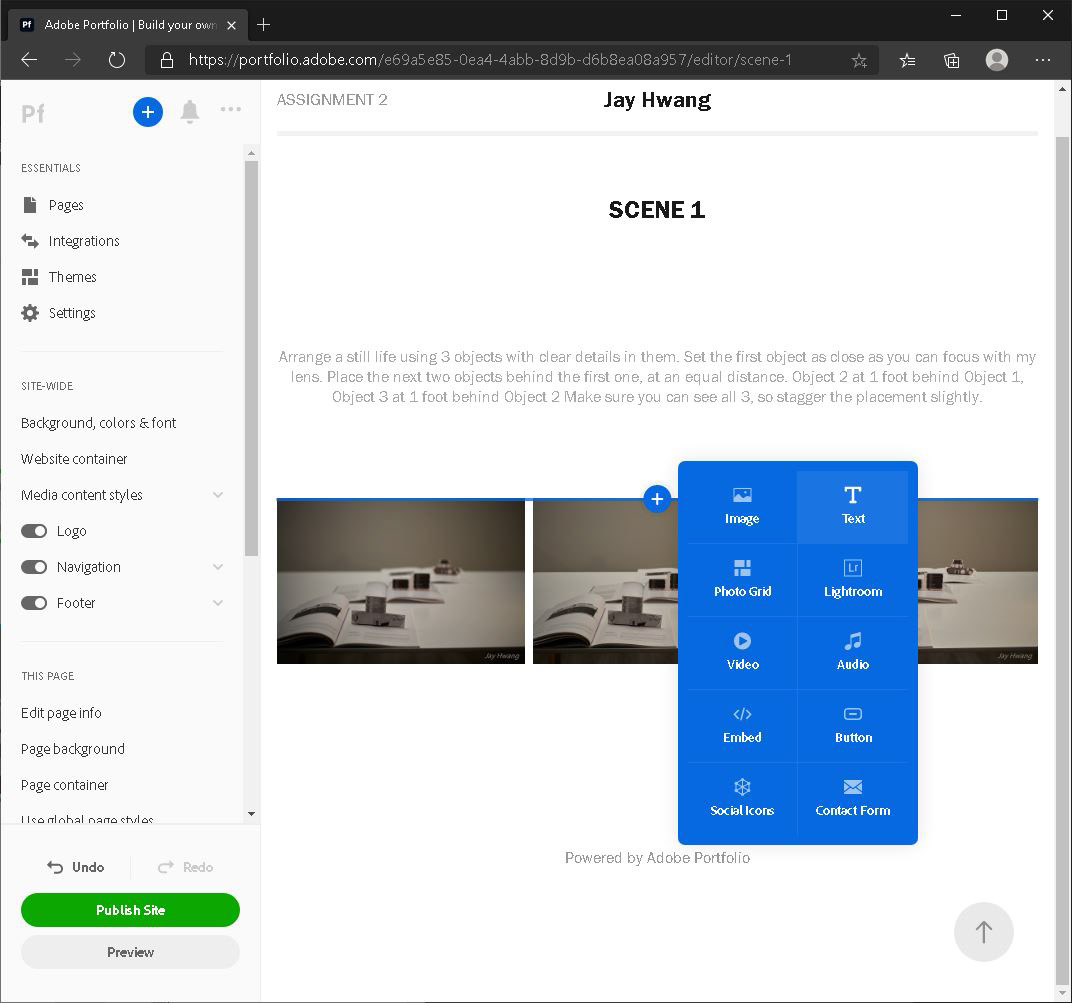
30. You can add more text boxes.
31. Input subtitles.
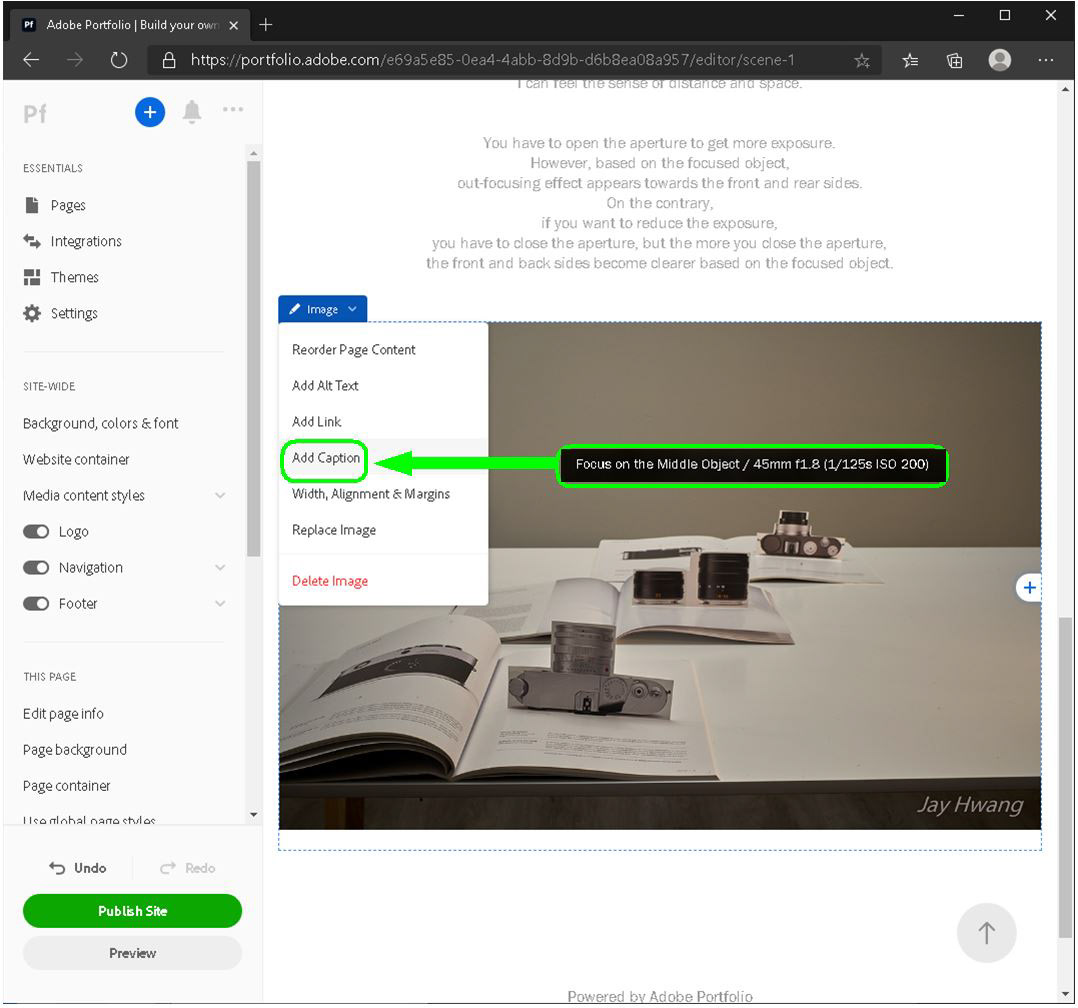
32. You can also add a Photo Grid.
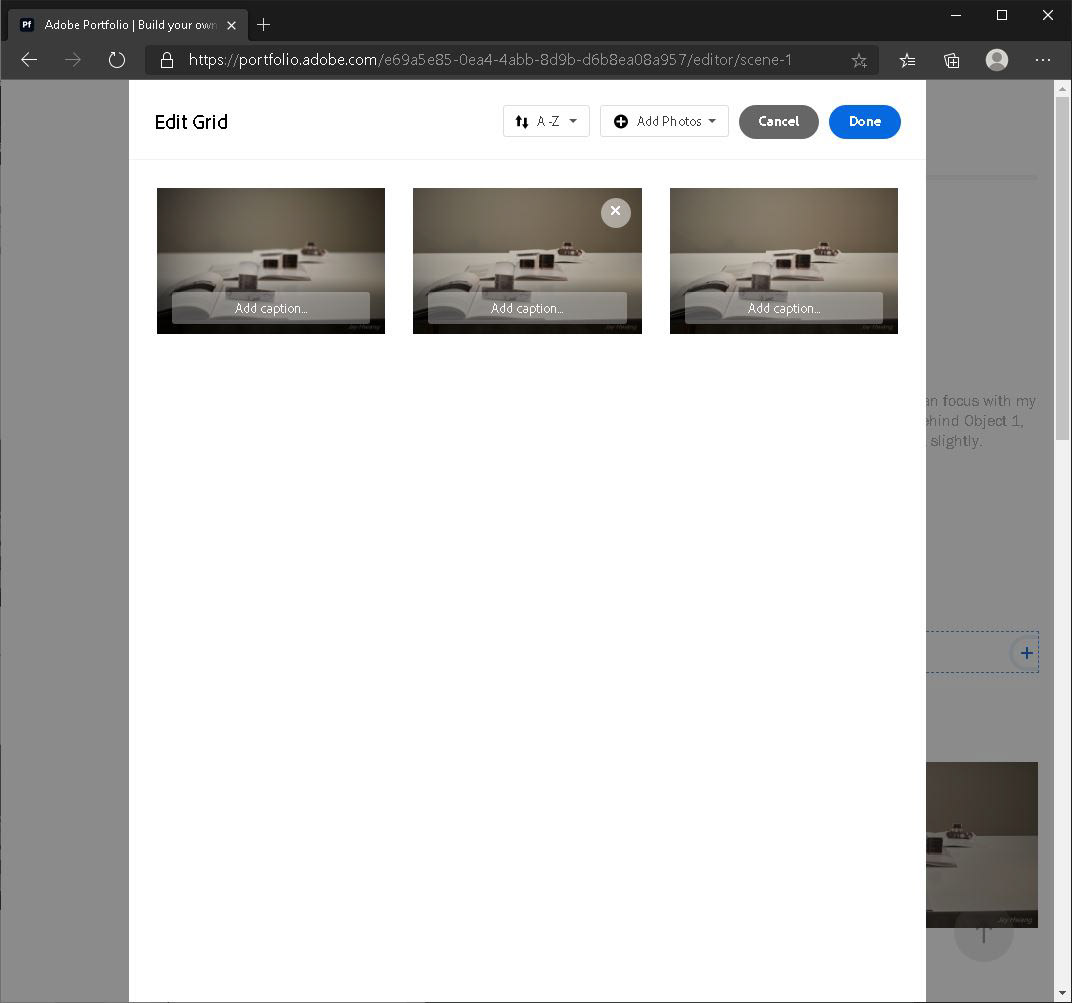
33. Similarly, bring other photos from the Lightroom album.
34. You can also add subtitles.

35. Edit the subtitles freely.
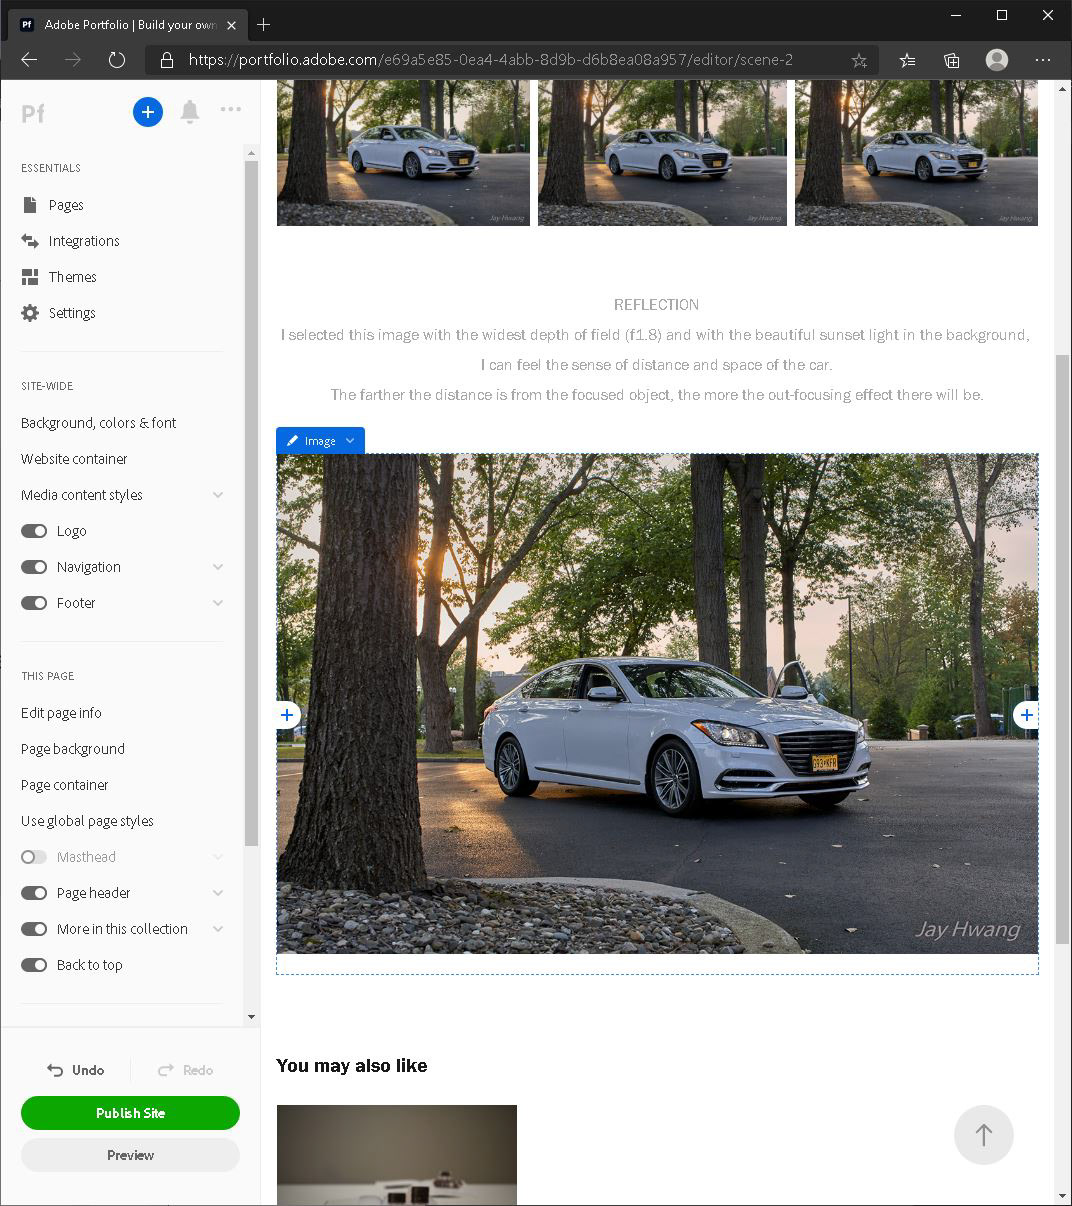
36. You can bring photos from your computer hard drive directly.
37. Click on the plus sign and click Image button.
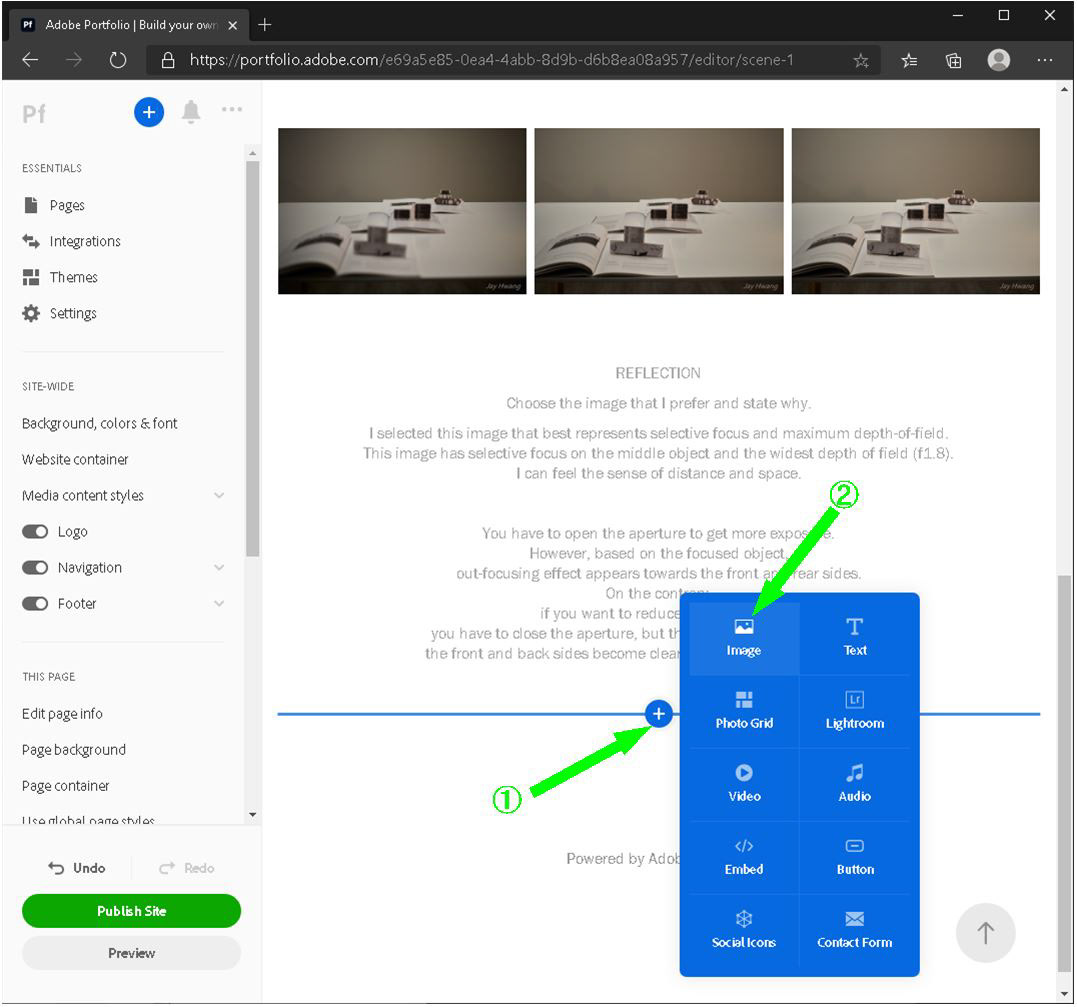
38. Select a photo you want and click Open.

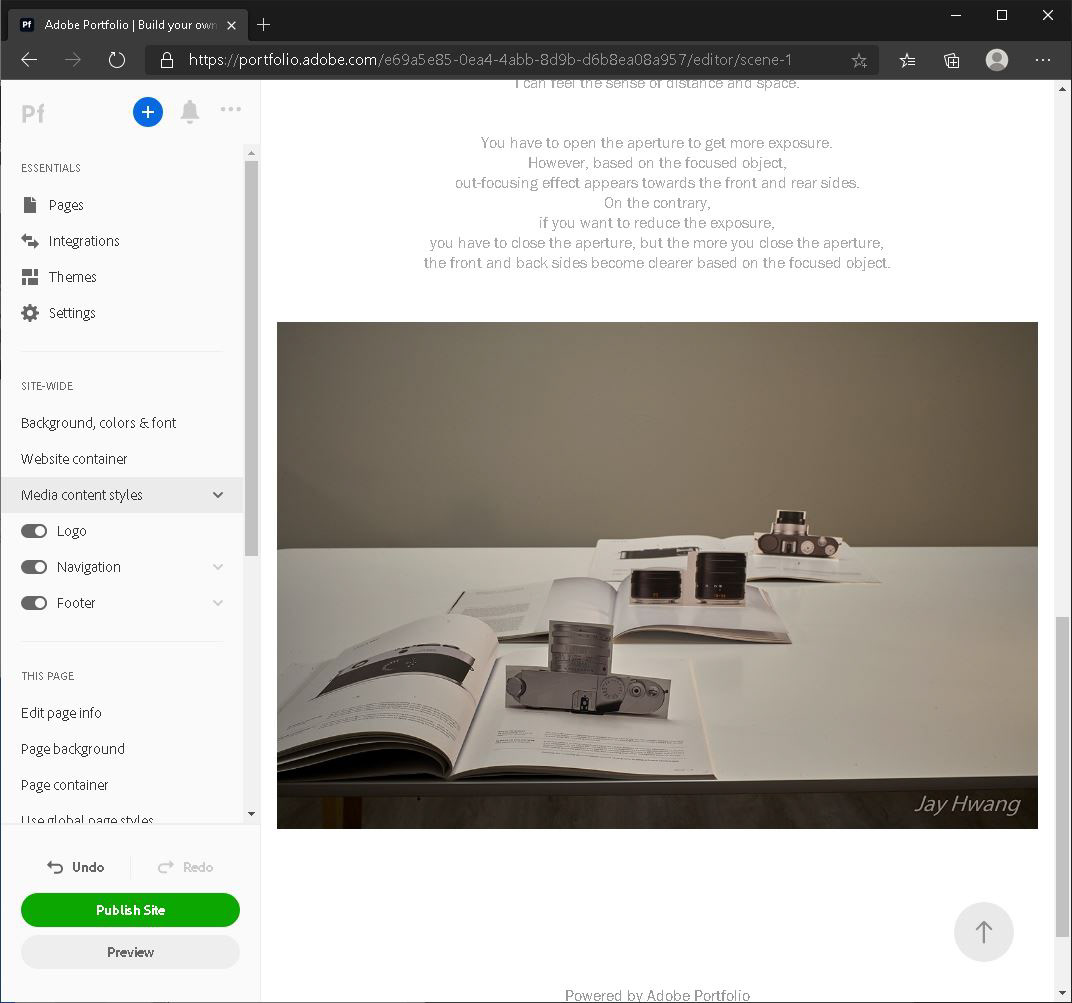
39. The photo you chose will be displayed.
40. You can add captions in the image menu.
41. You can organize the photos. Click Edit Grid button in the Photo grid menu.
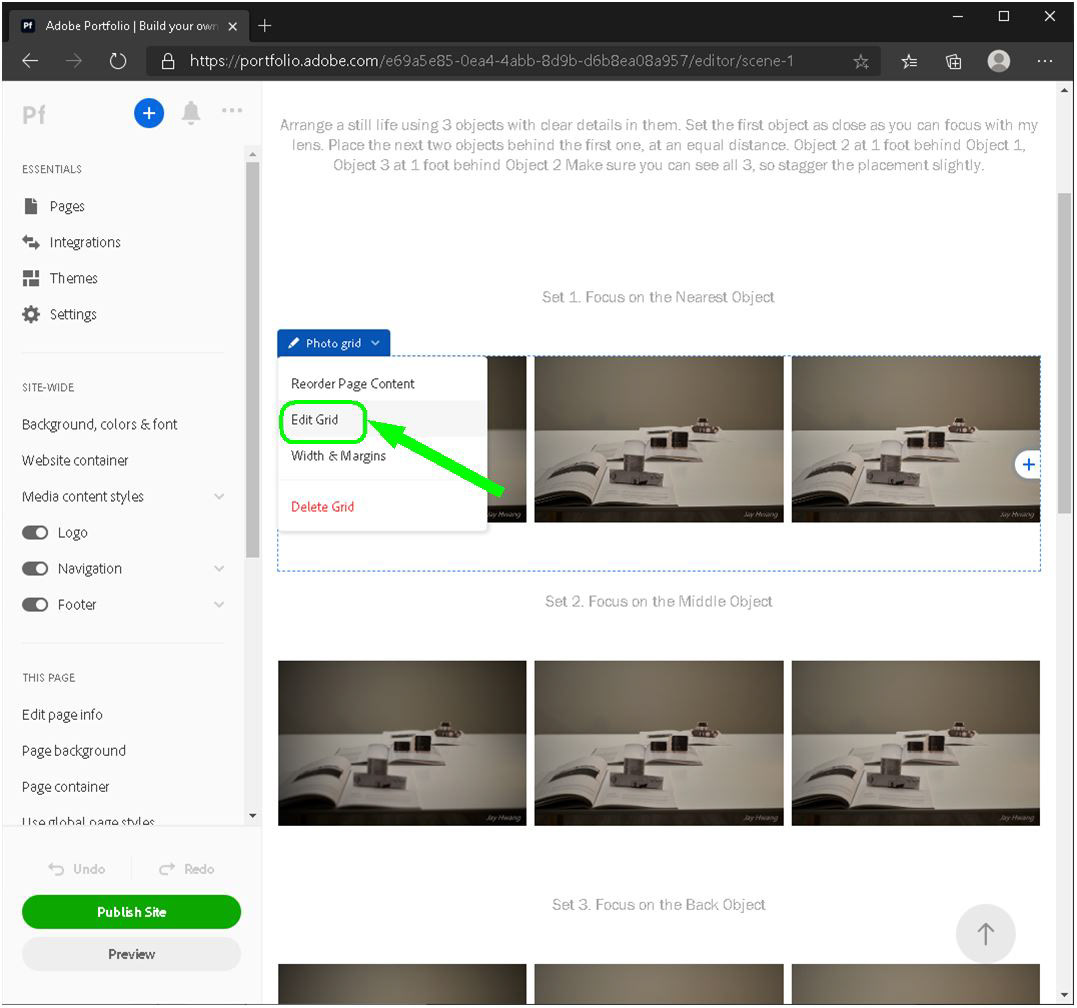
42. You can change the order list, replace it with other photos, or delete photos.
43. Click the navigation menu to go to the main page.
44. To add another page, click Add Page.
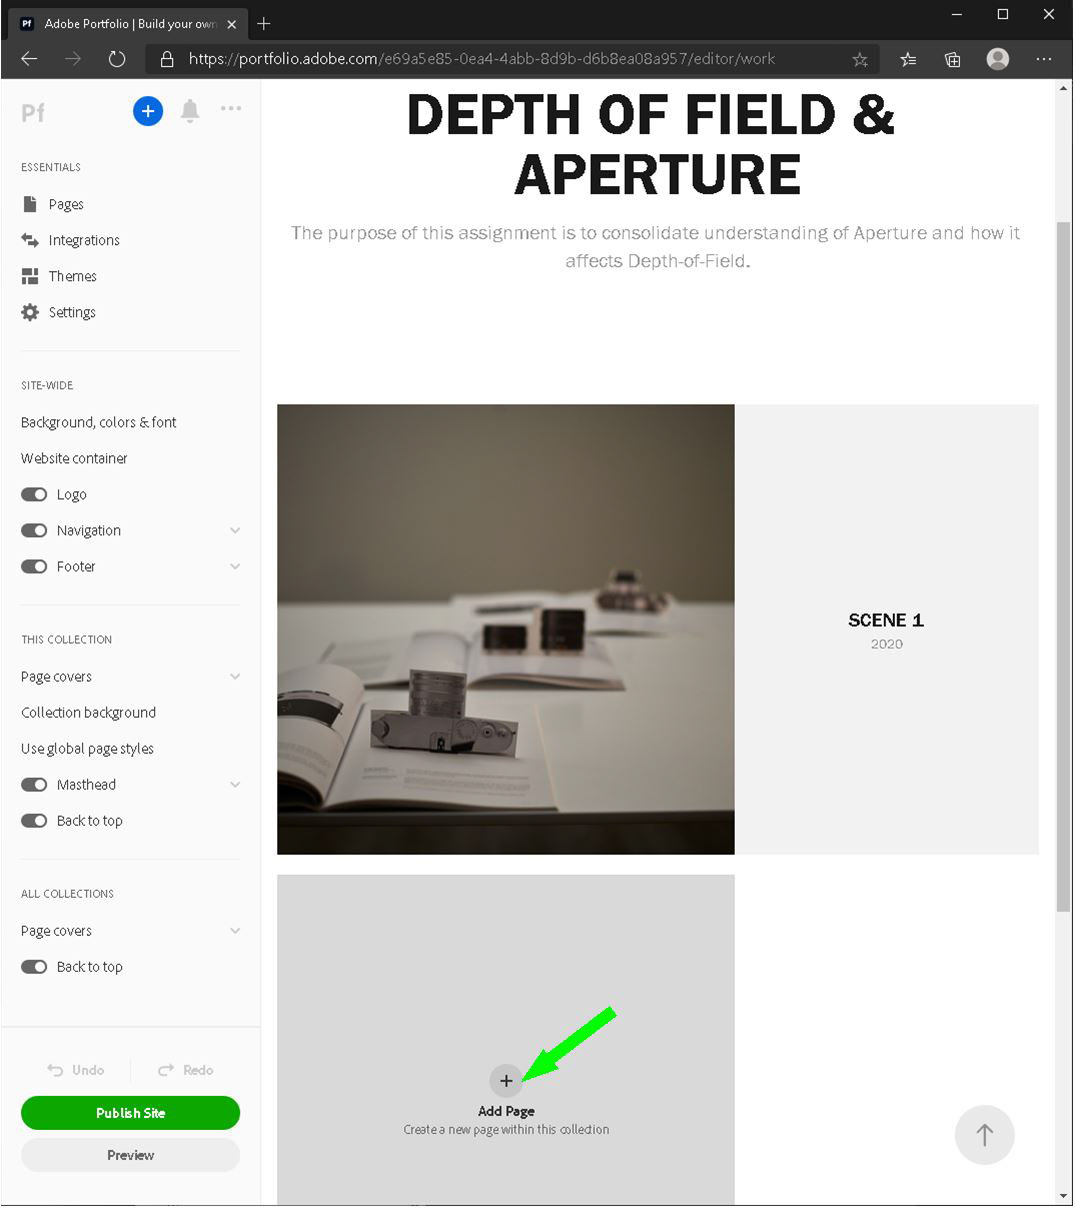
45. Repeat the steps described previously.
Input the new page name.

46. You can also add text.
47. You can also bring photos directly from the computer hard drive.
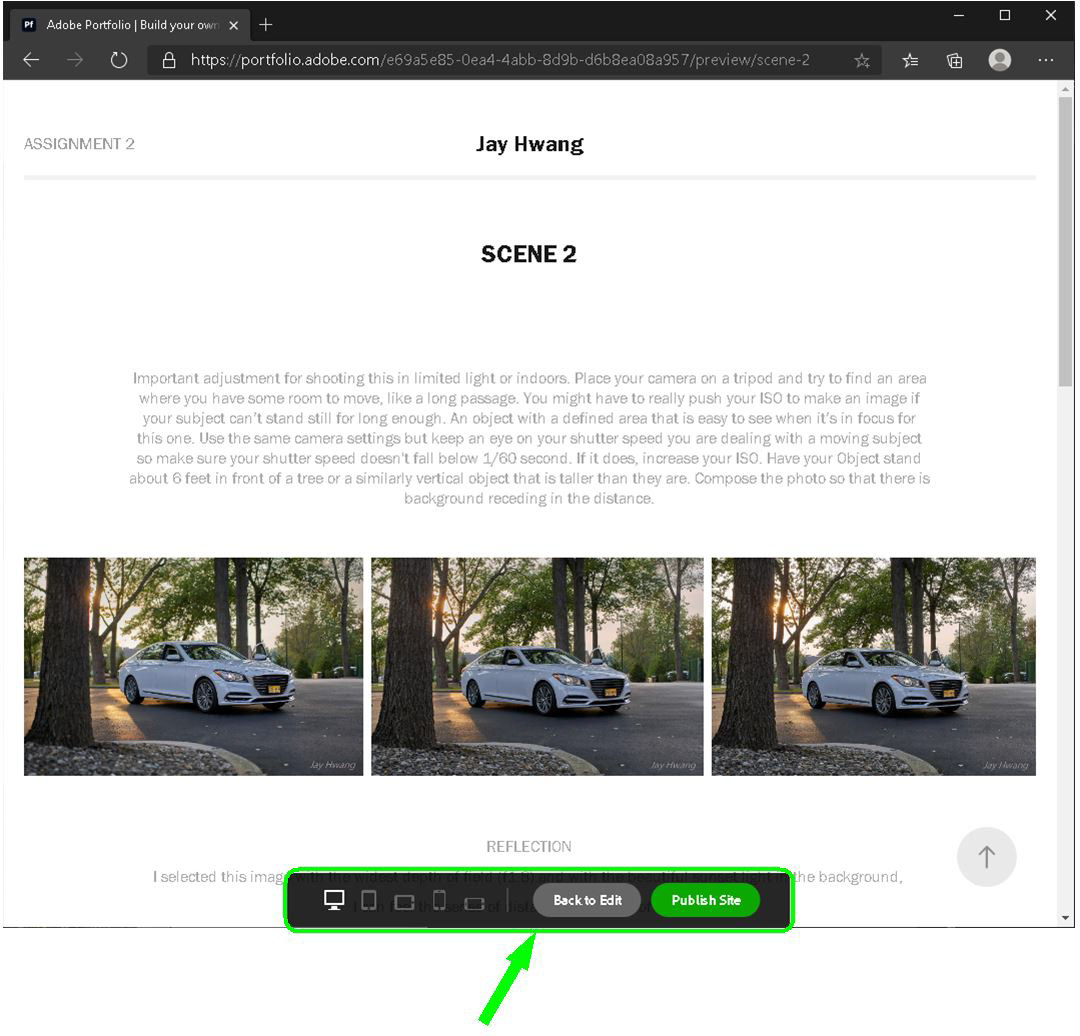
48. You can check what you have done so far by clicking on the Preview button.

49. This is the preview.
You can check with multiple devices by choosing the device on the bottom of the page.
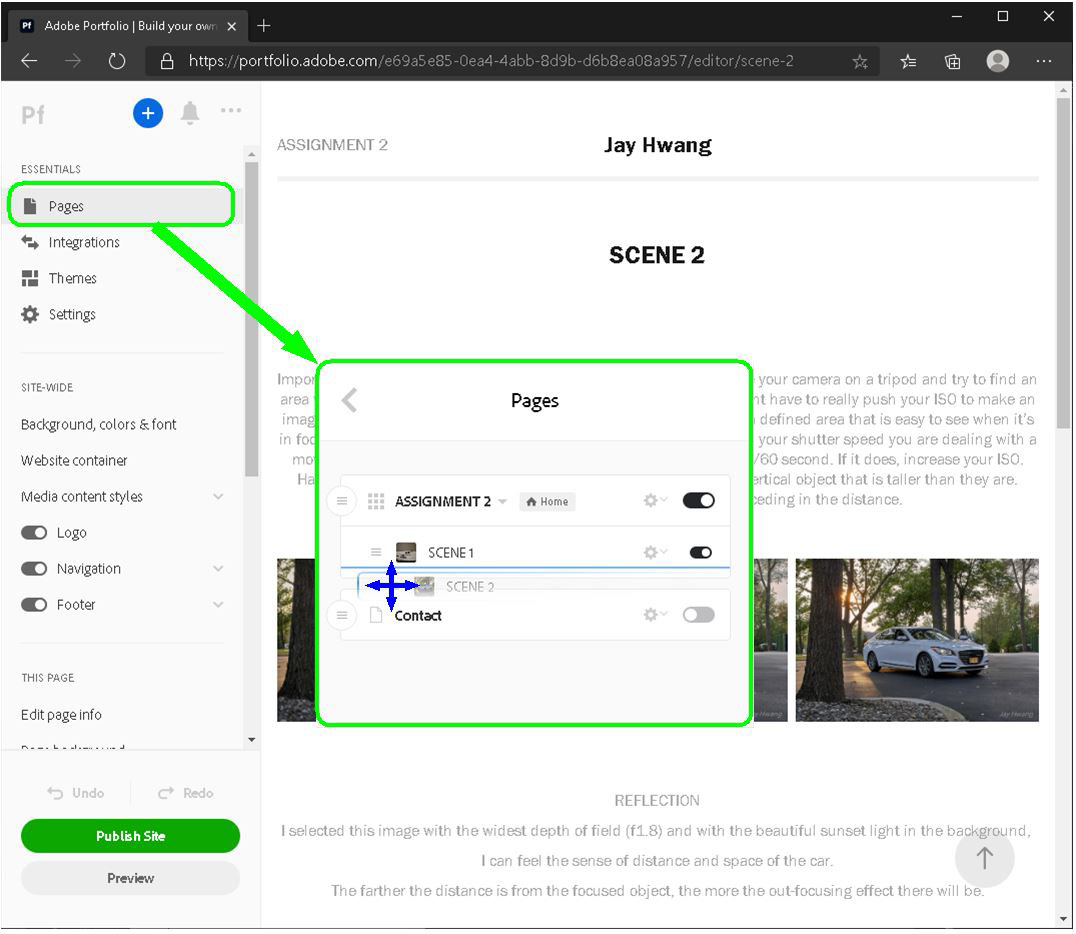
50. In the Pages menu under Essentials, you can reorder the pages you already made.
Click onto it and move.
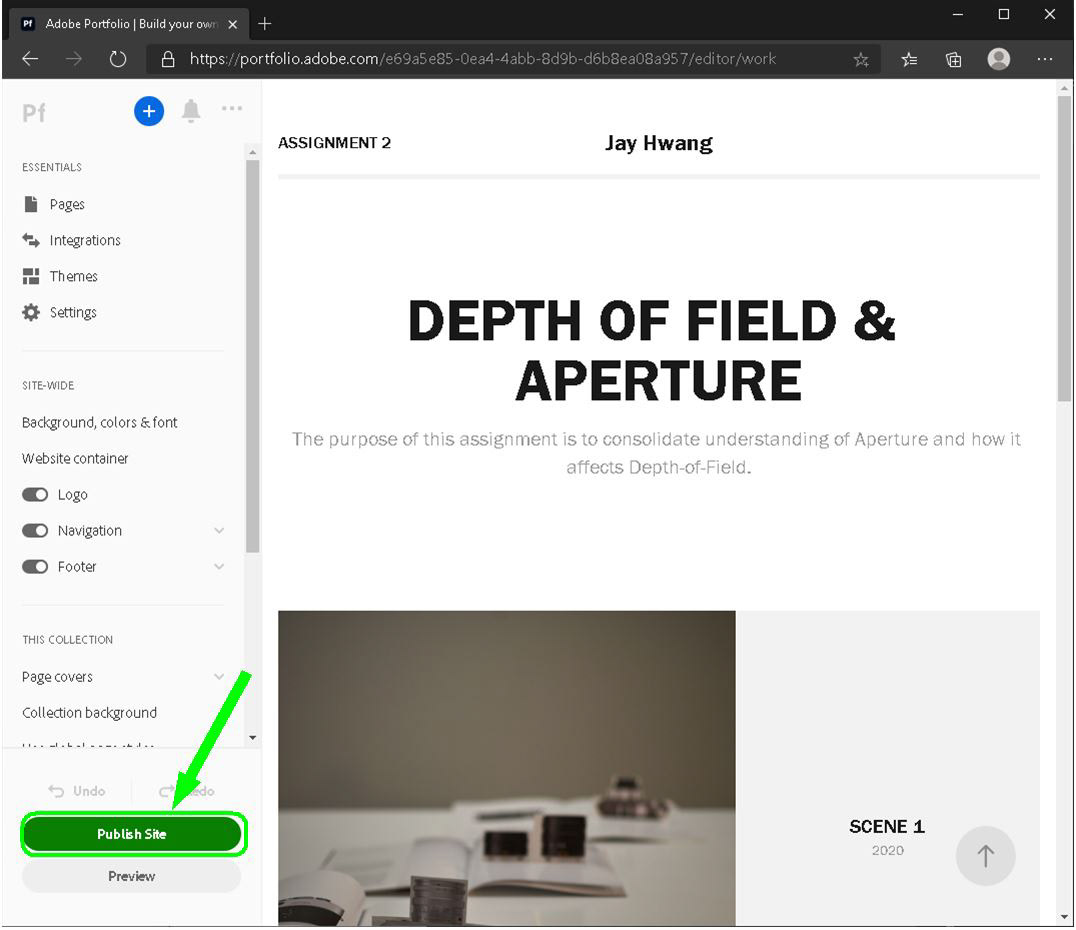
51. Finally, publish the site.
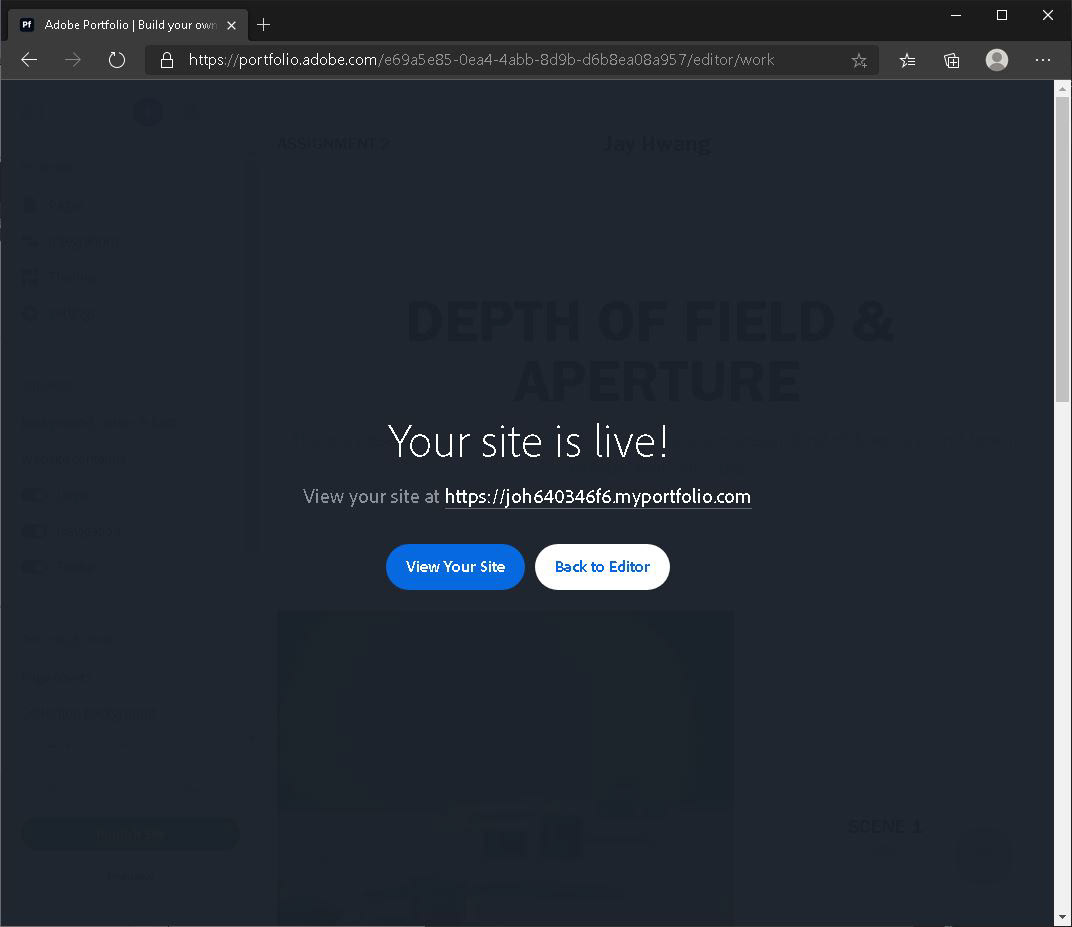
52. You will get the URL to your page.
Submit this URL to the assignment.
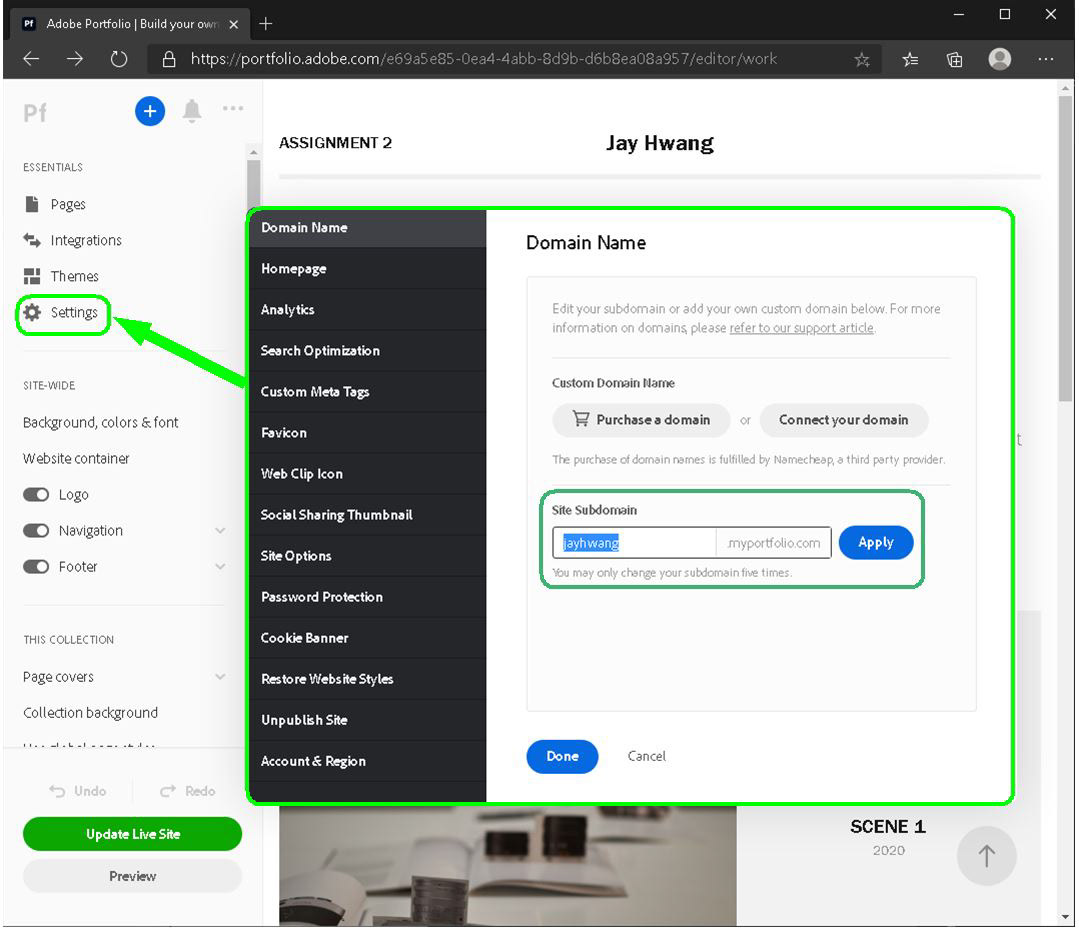
53. Additional information:
In the Settings menu, you can change the URL address.
I hope this helped!
Thank you.
Jay Hwang